Mods, Accessories, Info, How To

Grey18Taco

Active Member
2018 TRD Sport/ Auto

New to the Taco world. I’m writing this up so new owners can get a sense of some easy upgrades, vendors I used, how I like the end result, pictures, prices.

This will probably be really short or really long when done.
I hope to provide enough info for everything I do so that the post doesn’t get bogged down with replies or questions.
Feel free to PM me with questions.
 
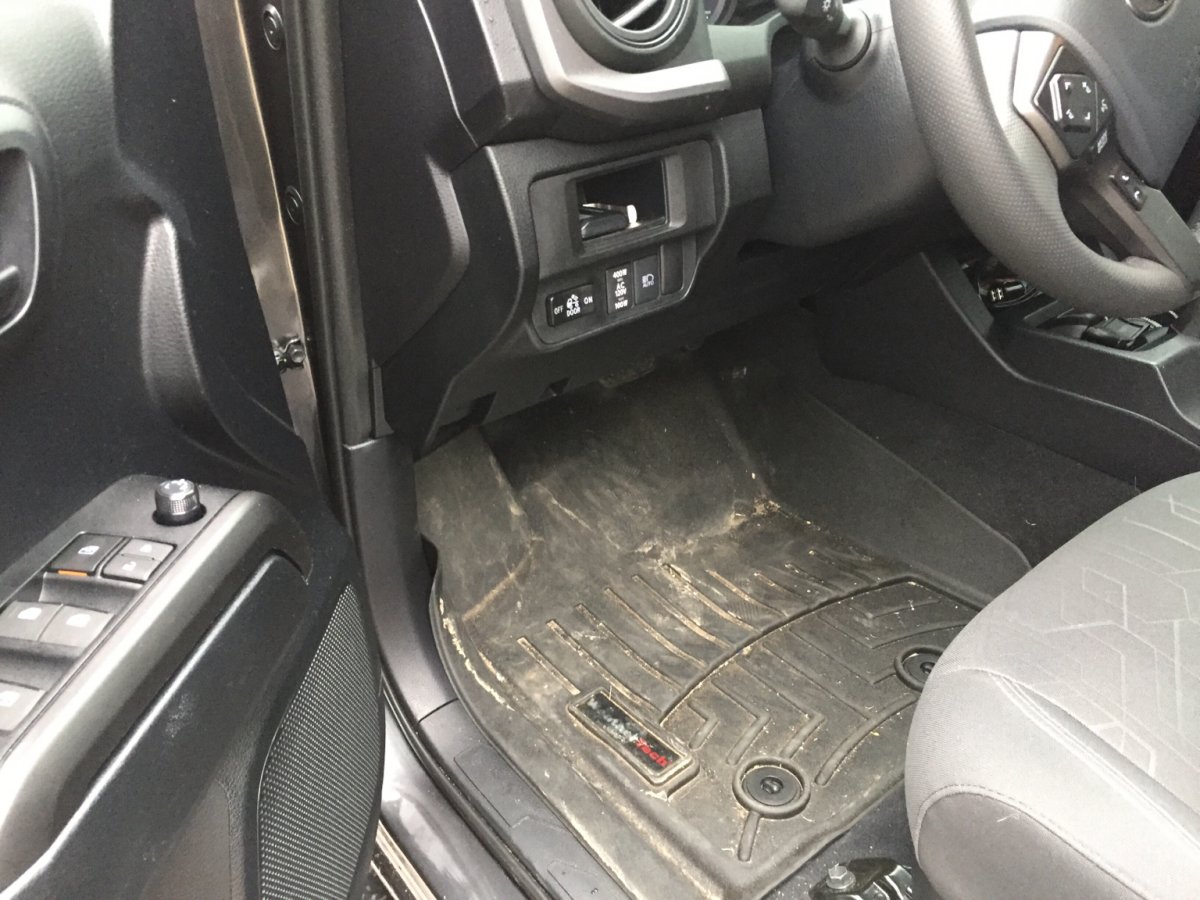
Weather Tech Floor mats
Ordered from their website.
Front and rear set.
$256
They are 6 months old, I didn’t want to spend the extra for thicker mats.
I do like that they utilize the little factory mount clips to hold it in place.IMG_4798.jpg
 
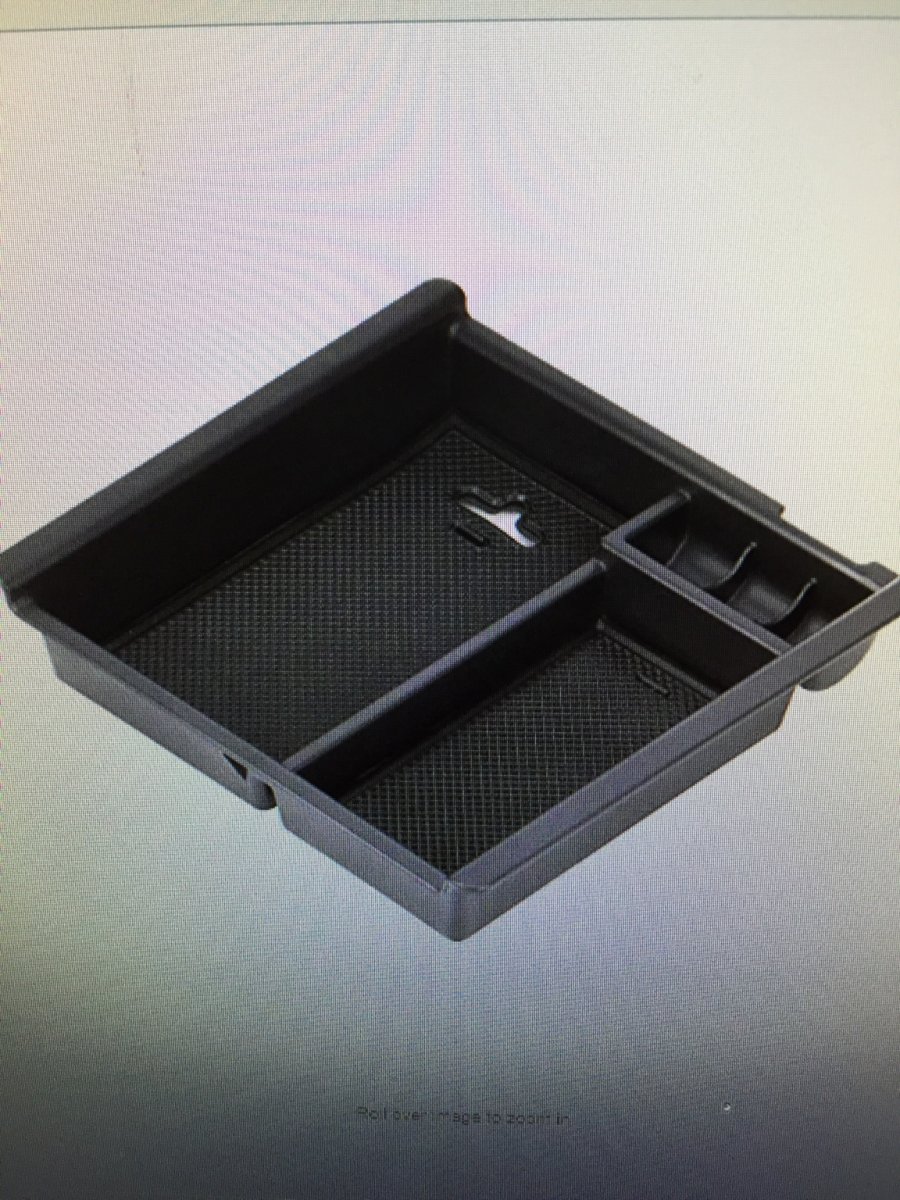
Center console organizer.
Sits just under the arm rest, has a groove to let your usb cords out.
EDBETOS Tacoma car center console armrest box glove box secondary storage (16-17) Tacoma.
It fits in my 2018 just fine.
Ordered from Amazon.
$10IMG_1541786641.593433.jpg
 
Full speaker upgrade.

Factory non JBL speakers are cheap paper.
I replaced the dash tweeters, all four door speakers and installed a sub.

I went with Crutchfield for the door speakers as they provide any needed wire adapters and the speaker mount adapters.

I don’t recall off hand the part numbers, but 4 speakers cost less than $200 - Kicker brand,

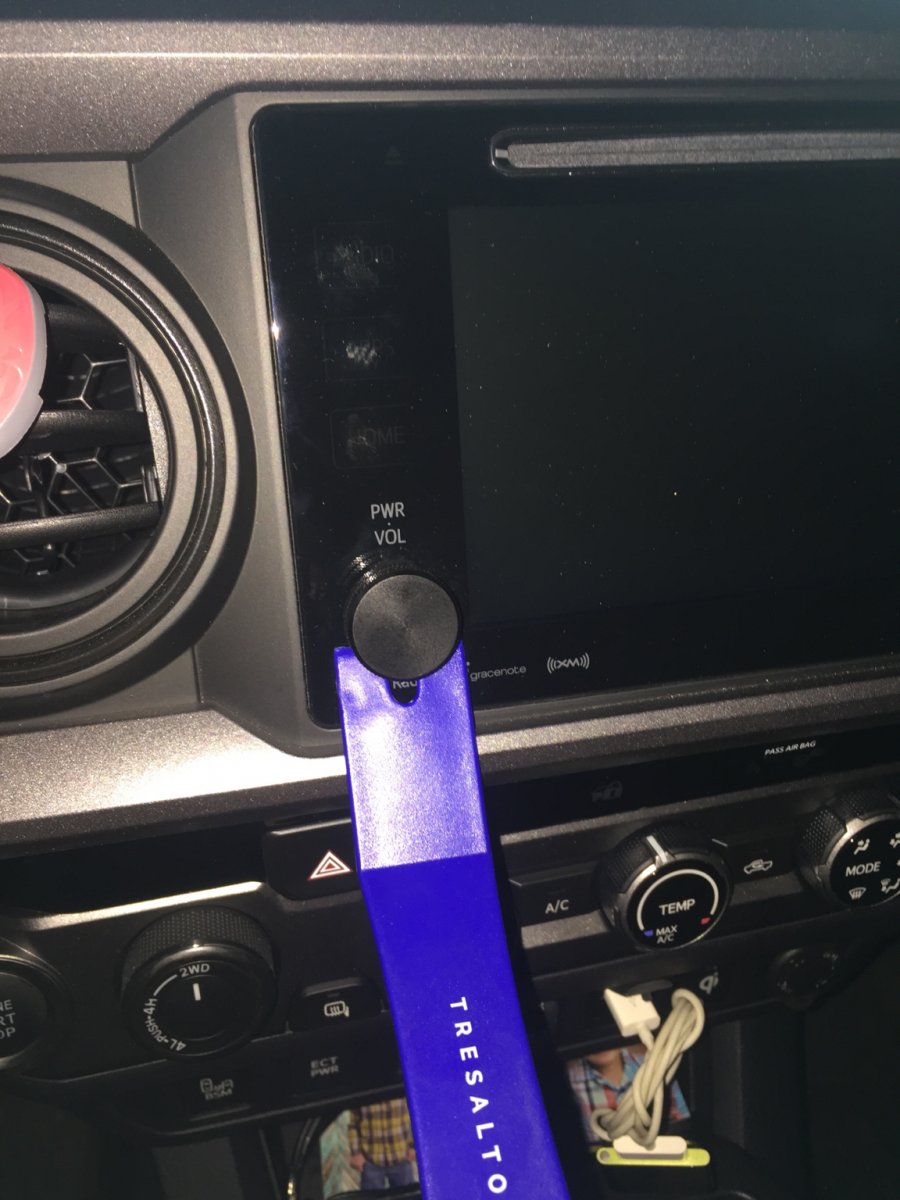
Door panel removal was easy (thanks YouTube). I did use a trim removal kit (yes, from Amazon) to aid in this process.

For the dash speakers/ tweeters - they share the same manufacture with Subaru.
Genuine Subaru H631SFJ101 tweeter kit. (Kicker brand)

Ordered from Amazon.
$96

Careful when removing the tweeter trim cover, it’s easy to snap off the retaining clips. You’ll also need a stubby socket to remove the 2 bolts for the speaker just under the windshield. I used a shallow 1/4 drive set.

For the sub, I went with a 10” Rockford Fosgate Prime R1S4-10 (150 way - 4 Ohm).
$47
From Amazon.

I already had a R1-4 Ohm amp, so this kept it easy on the pocket book. The amps are still on Amazon for about $50-70.

The box and harness from the stereo came from Tacotunes.

The harness was a plug & play from the back of the deck to the amp mounted behind the passenger rear seat. Just remember to plug the other stuff back into the rear of the deck, I got done and had no nav, cause I left it unplugged.

They do offer 12 boxes, but I didn’t need that much bass. 10” box is $109.

The harness is the “Plug and play add a subwoofer harness”.
$35

Hardest part was running the wires. I ordered a amp kit from Amazon, or you can pick one up at walmart or your local stereo store. When in doubt, go longer on the wires so you don’t run out 3/4 of the way through the install.

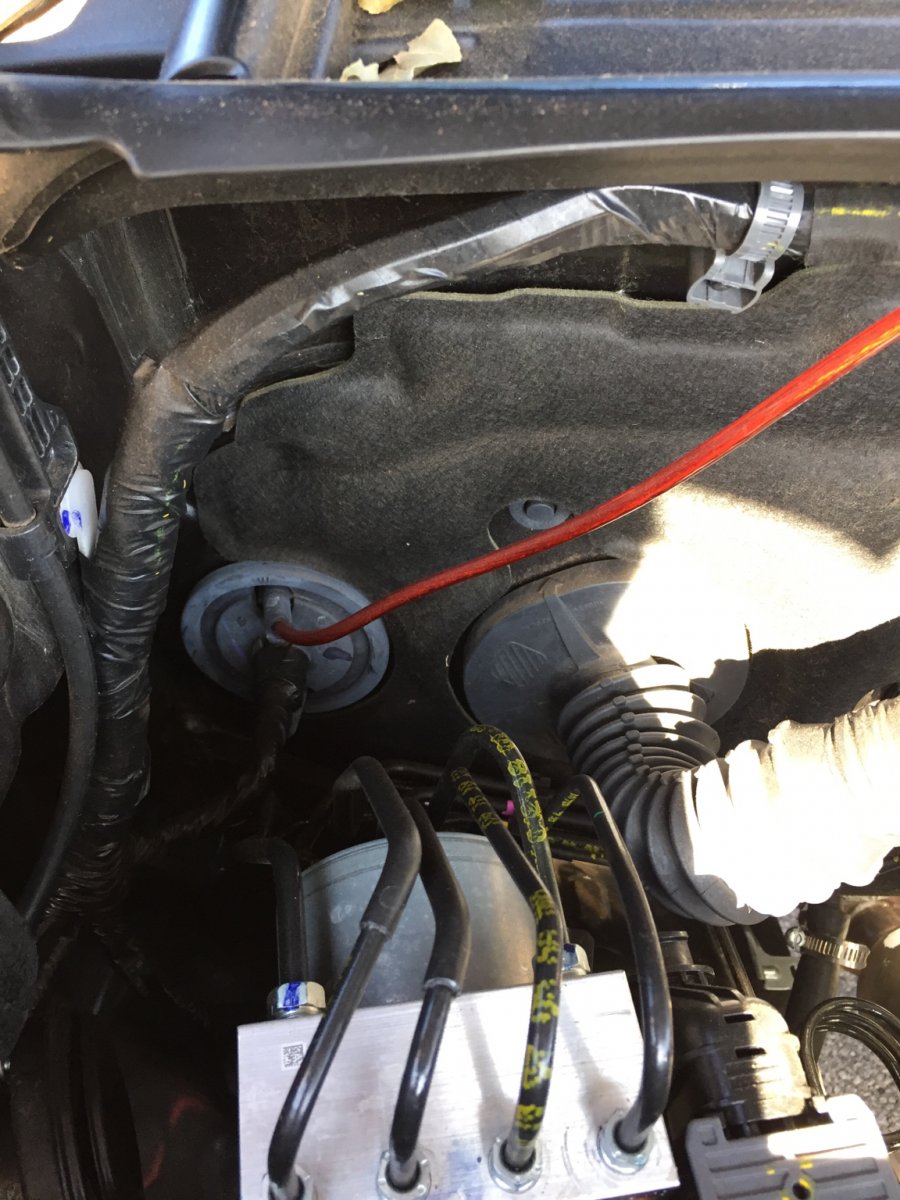
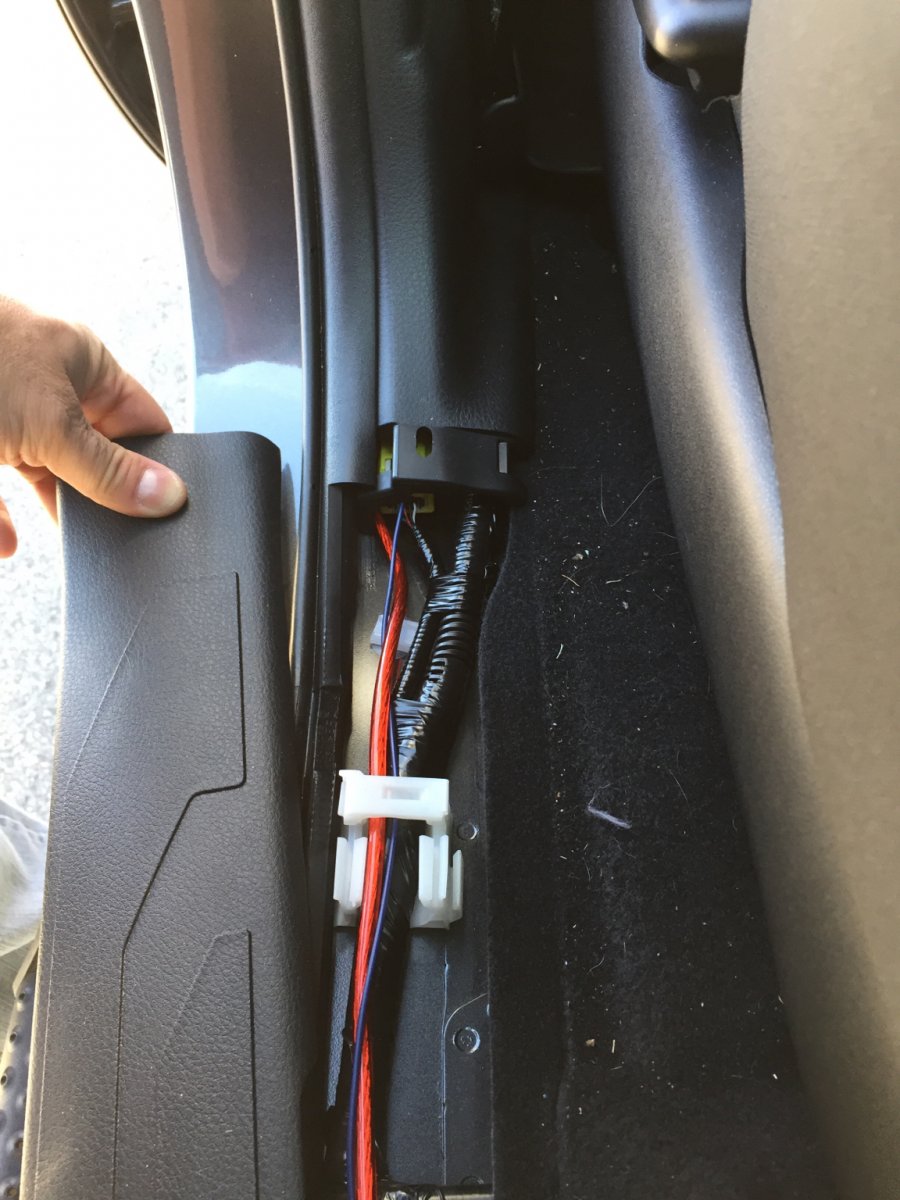
I ran the wires through a rubber nipple on the passenger firewall and down under the door trim panels. I did have to squeeze it through the B pillar where the seat belt anchors, I loosened the trim and used a metal coat hanger to feed it through both the nipple and B pillar.

All in all this took about 5 hours.

I’m very pleased with the sound.

The plastic back of the seat on the driver side rear passenger seat had to be removed to make the box fit, as did the storage compartment behind the driver rear seat. I couldn’t add a grill either but you shouldn’t need one as it’s behind the seat with no possibility of being punctured.

No pic of the amp, theirs a car seat strapped in blocking the way.

All stereo functions work as they did with the factory system.

I was able to ground the amp near the rear seat.

I did have to drill out a hole to pass the wires through on both sides of the plastic trim behind the passenger rear seat.
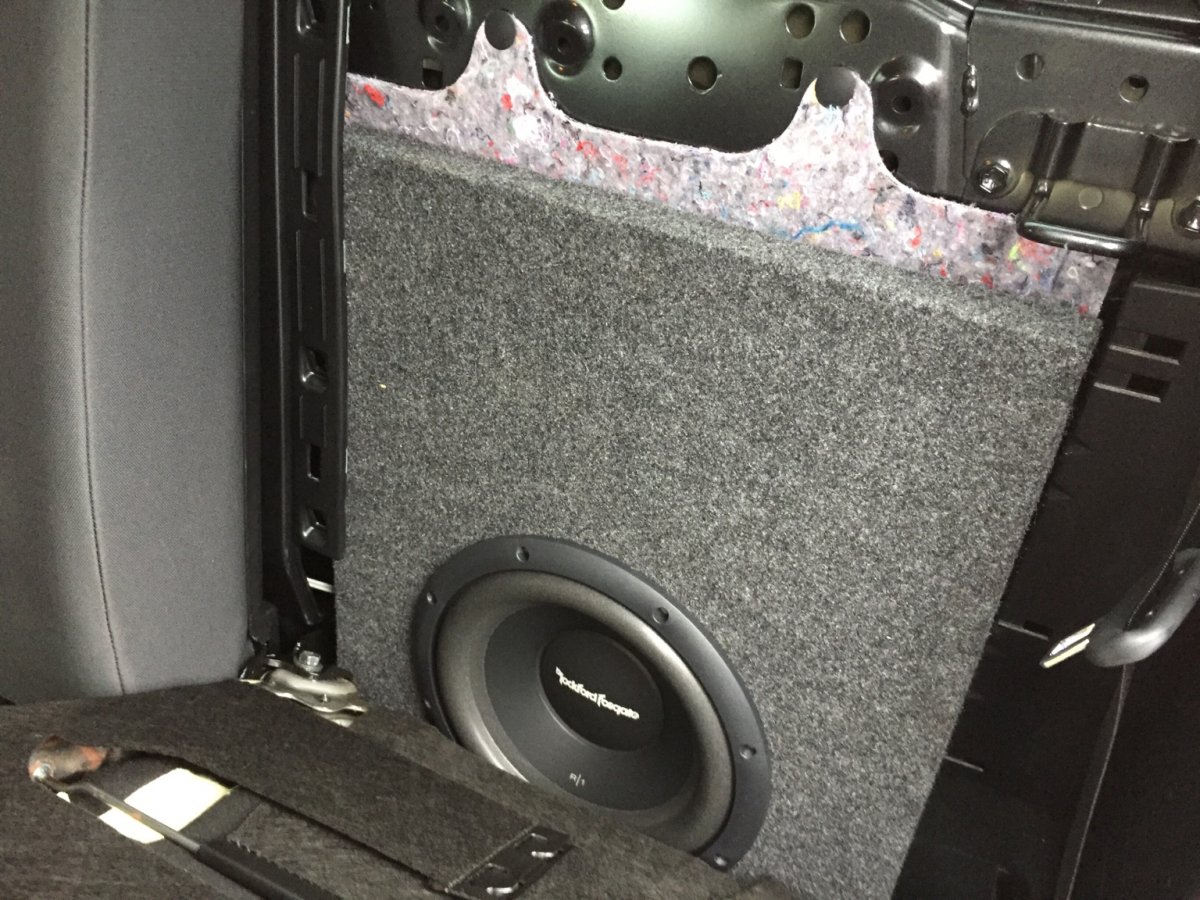
IMG_4799.jpg
IMG_4820.jpg
IMG_4821.jpg
 
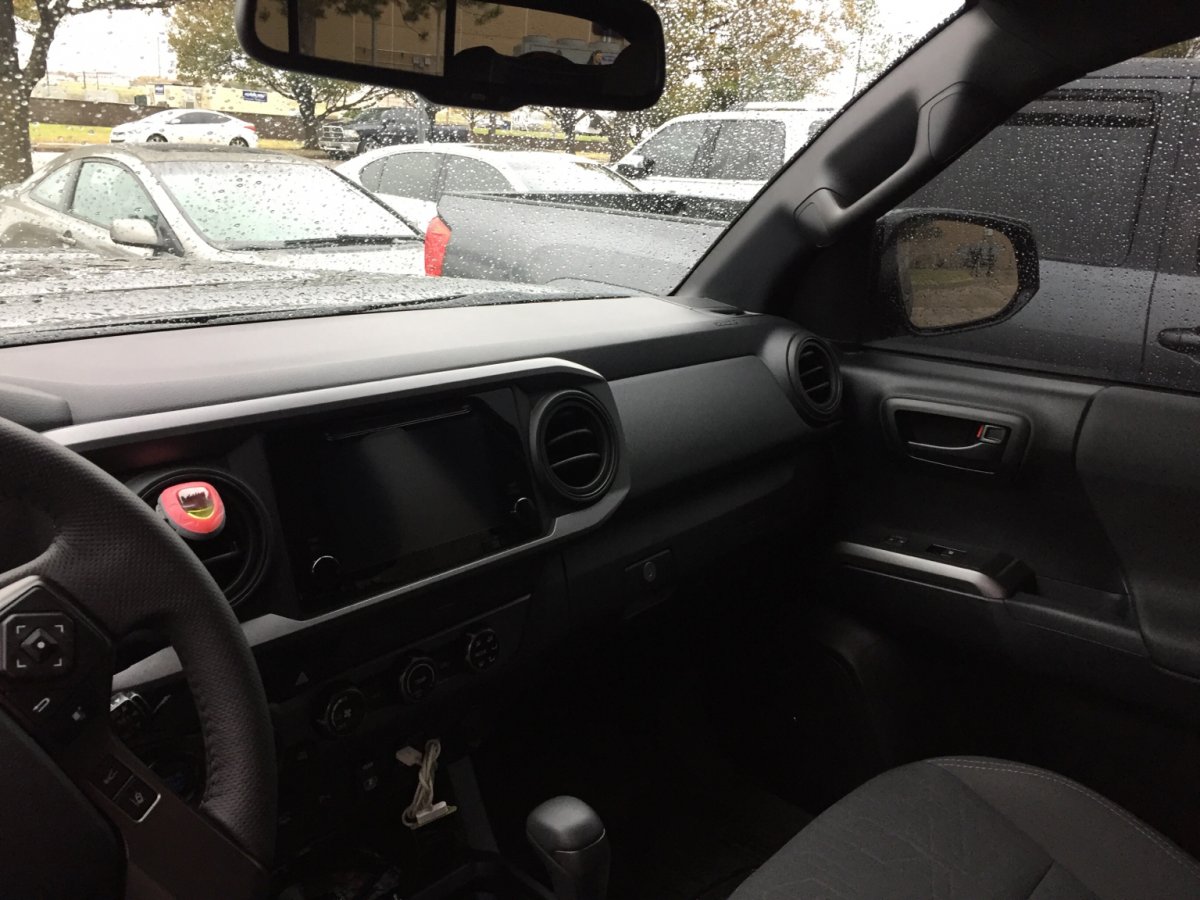
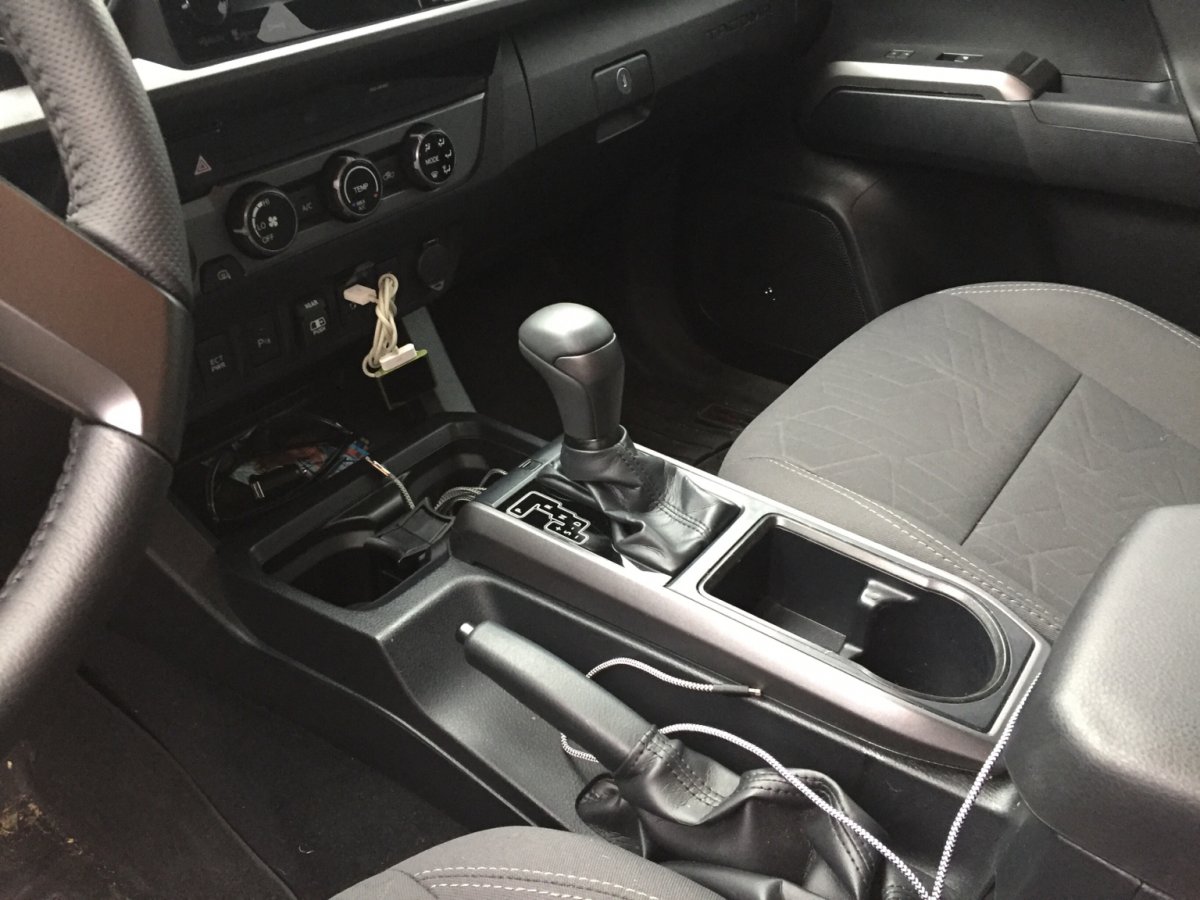
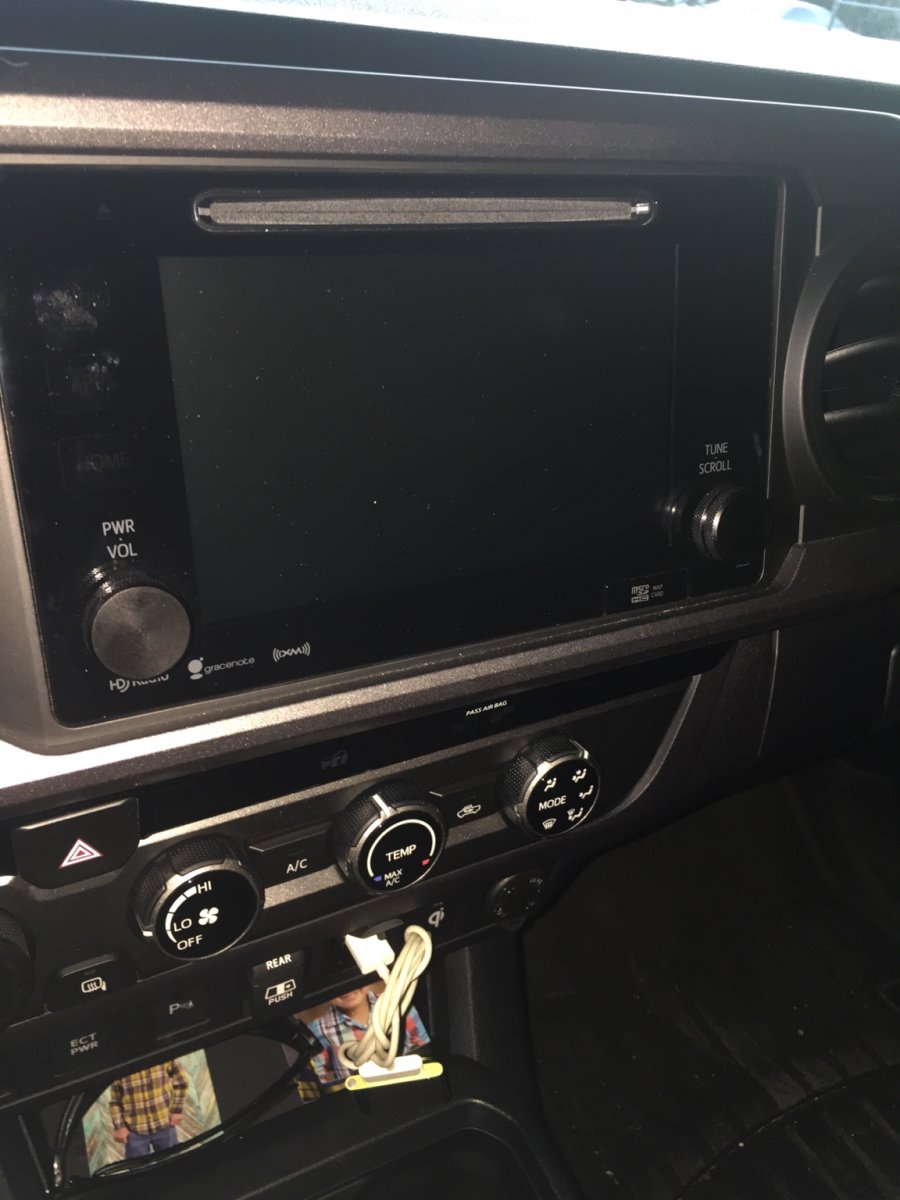
Blackout/ chrome cover.

I tried the vinyl stickers made to cover the interior trim, hard to apply, wasn’t impressed.

I decided to plastidip them.
Dash trim removal is super easy, just pull.
The center console cup holder trim was finiky, use a plastic trim removal set (Amazon).

The air vent rings were held in with plastic pegs that were melted on the end, think of a
plastic rivet. I just used a dremel to grind them
down, painted, re-installed with a little epoxy and put back on the dash.

The shifter trim ring, start button ring, 4wd ring, and power mirror dial - I didn’t know how to remove without breaking something, so I grabbed a flat black paint marker and took my time.

6 months later, it’s still there with no chips or peeling. If it starts to, I’ll go over the area with some fine sand paper and reapply the paint marker.

I hated the chrome, it seemed to always catch the sun and find my eye at the most inconvenient time.

Took about 6 hours mostly for drying and because their was no good info on how to do it when I did it.

IMG_4795.jpgIMG_4796.jpgIMG_4797.jpg
 
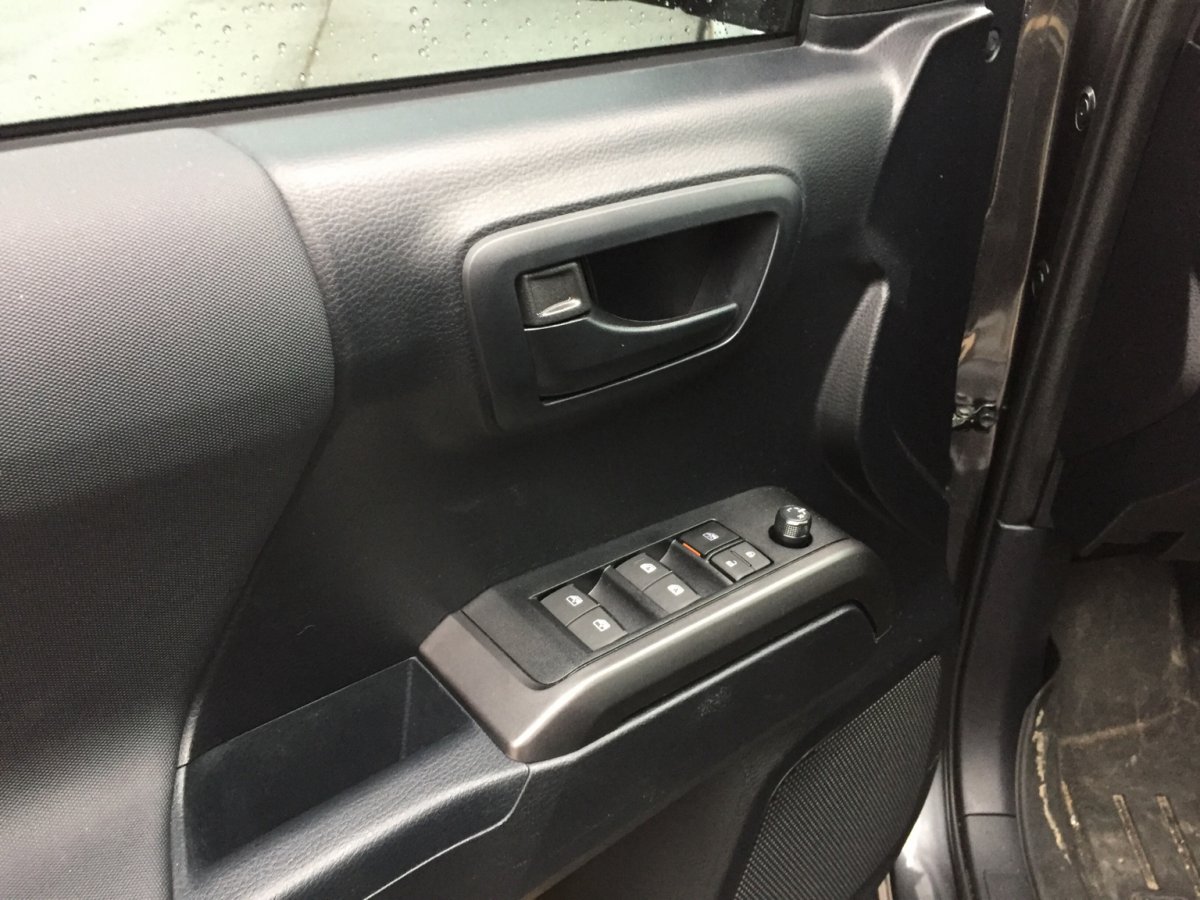
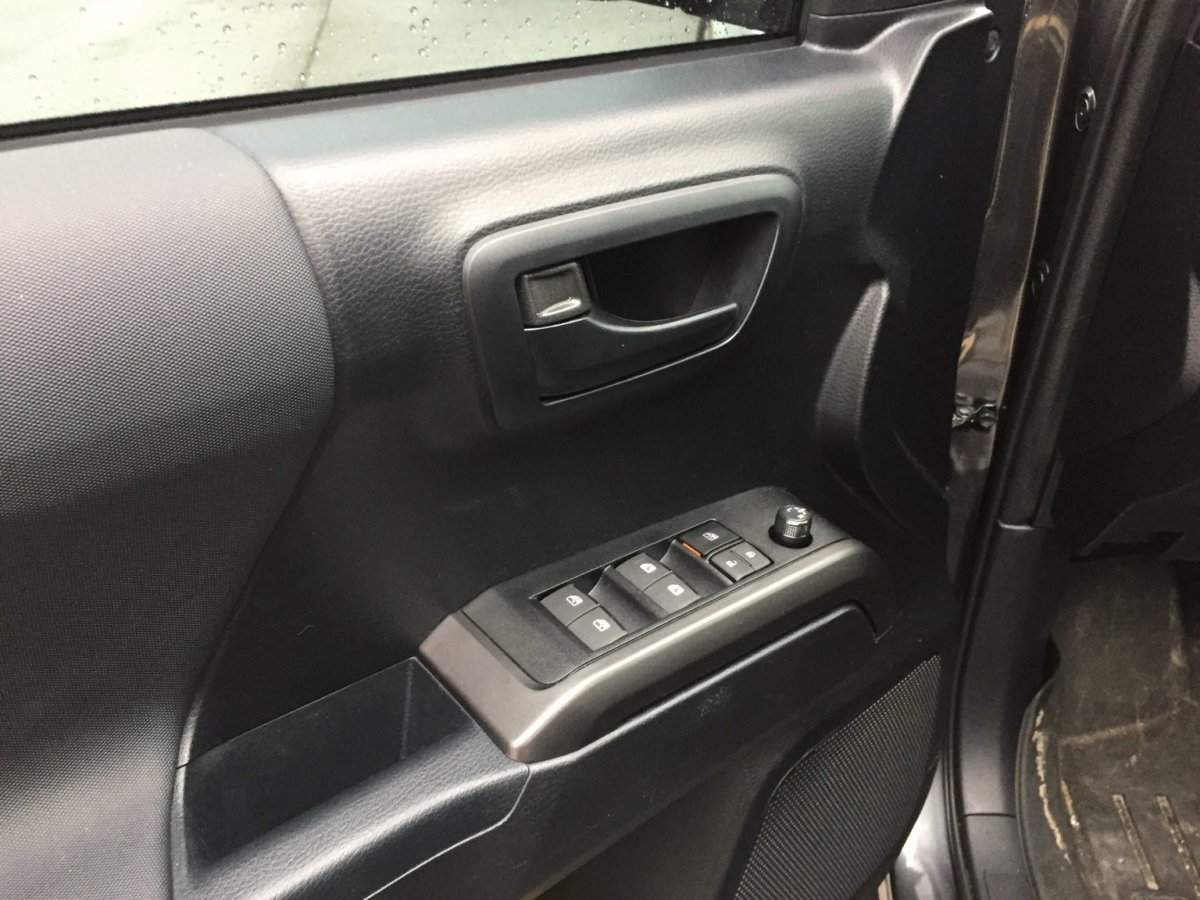
Black interior door handles

Again, my despise of randomly placed chrome trim, I replaced the interior door handles.

The SR5 comes with black handles, unfortunately the TRD sport does not.

Note - doing this when or if you do the door speakers is a good time as the door panel has to come off anyways.

You can get these on Amazon, when I did mine I used a Toyota replacement parts site. Either way handles will run you $20-35 a piece. If you have a double cab, remember you’ll need 2 rights and 2 lefts.

Amazon
Driver side PT Auto Warehouse TO-2010LH
Pass side PT Auto Warehouse TO-2010-RH
$22 each

Install is easy, remove door panel, pop old one out, remove 2 cables(1 for lock, 1 for handle), remember which cable goes where, I think one is green and the other white. Install new handle and reinstall door panel.

Check & make sure the door operates before you close it by moving the handle and power locks. It’s pretty hard to remove the door panel with the door closed if you forget to hook up a cable!

IMG_4797.jpg
 
Plastic to Metal Oil Cap Assembly.

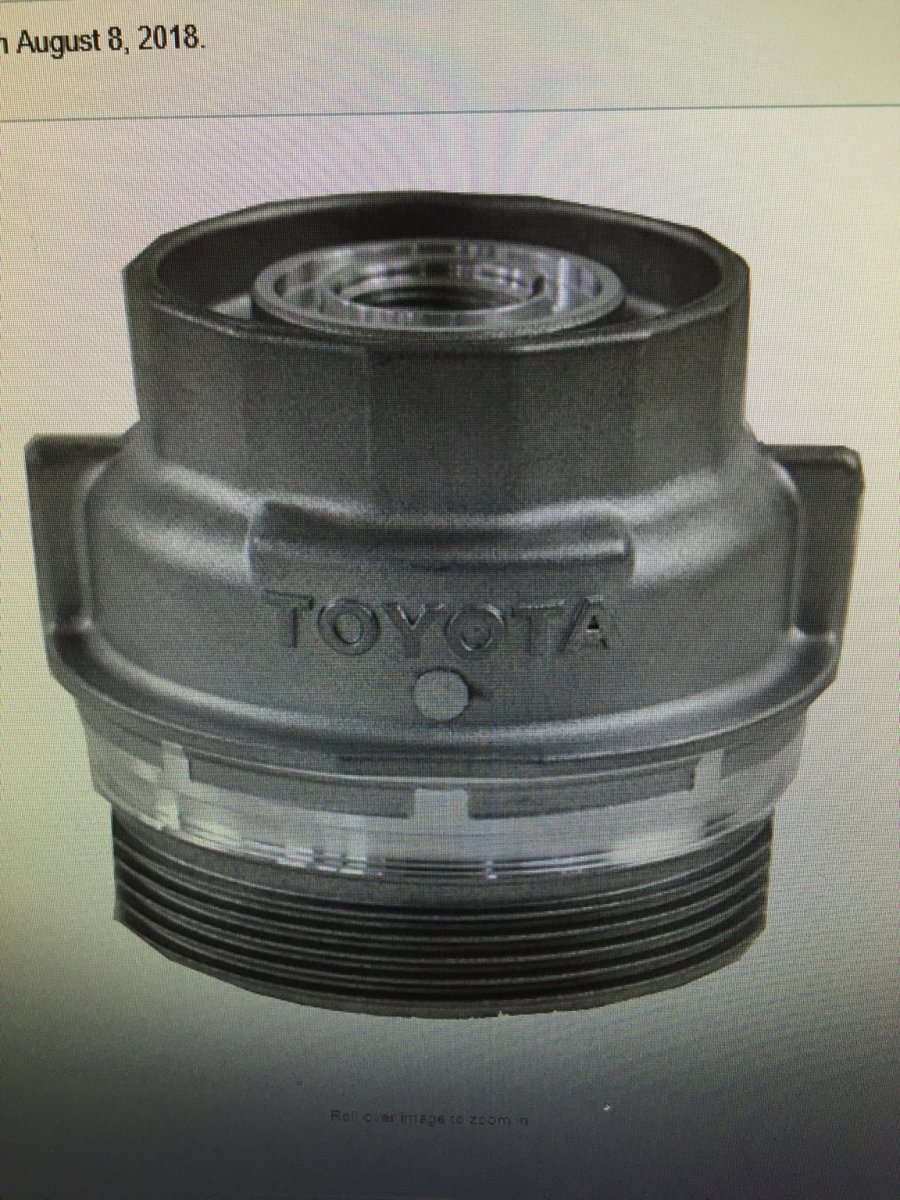
Im a DIY guy. The factory oil filter housing is plastic. Prone to damage, plastic fatigue, hot/ cold brittleness.

When I do reach 5000 miles, and proceed with an oil change, I will replace the filter housing with a metal one.

You guessed it -Amazon.
Genuine Toyota 15620-31060 Oil Filter Cap Assembly.
$21

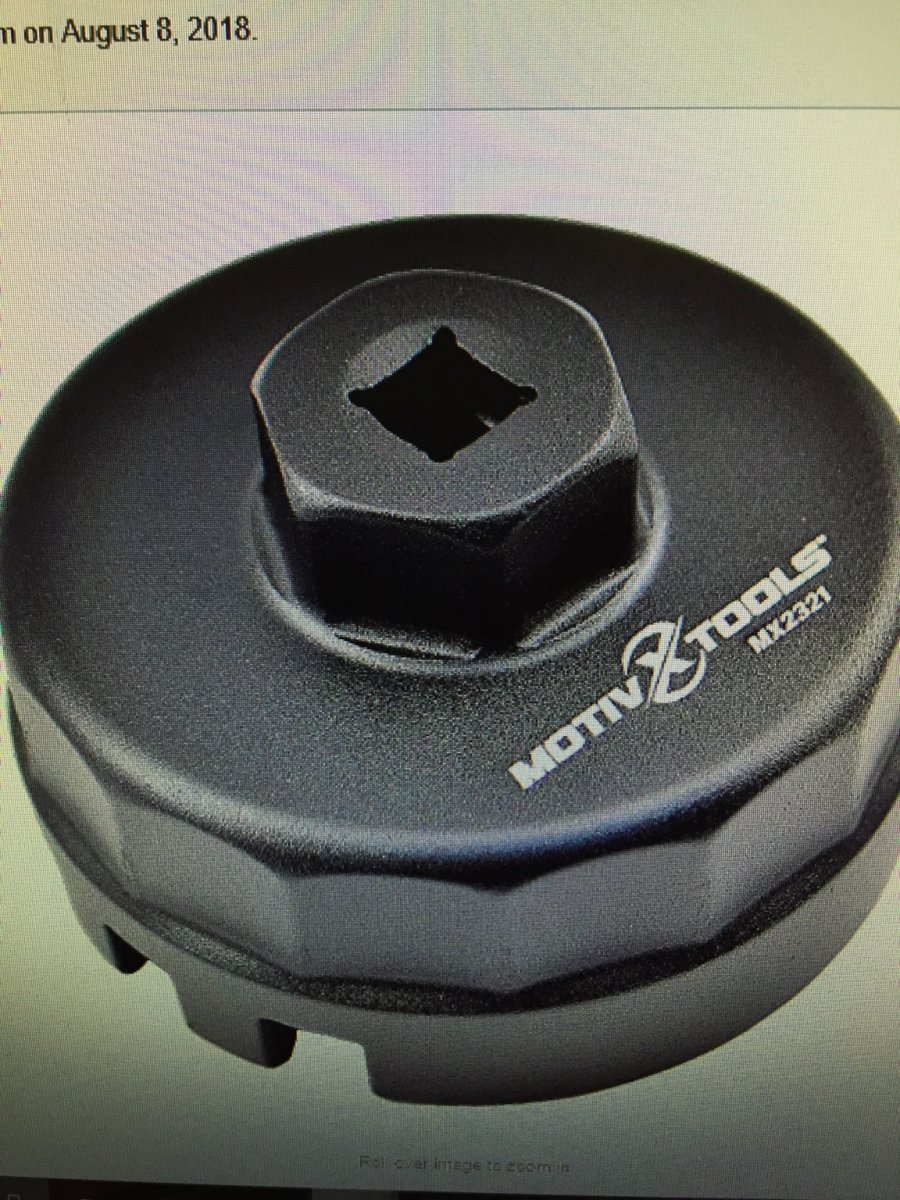
To remove the metal or plastic one correctly, theirs a special wrench.
Amazon.
Motovix tools Toyota oil wrench filter
$20
Note - it says that it doesn’t fit my vehicle, however I have both the wrench and filter cap and it does fit.IMG_1541790047.895939.jpgIMG_1541790072.560088.jpg
 
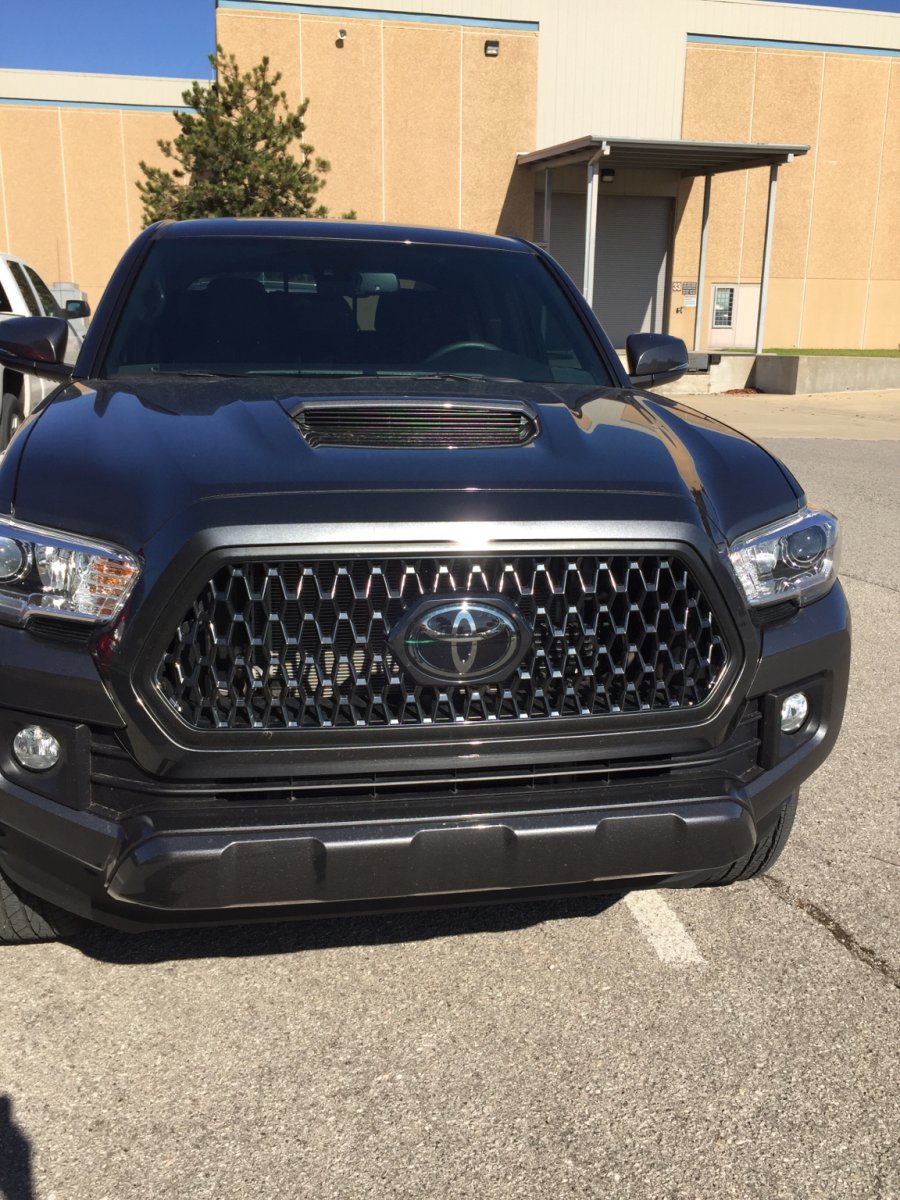
In the next month or 2 will be a suspension lift, new tires, maybe a front grill.
I’ll post when it happens.

So far I’ve done all the above work myself. And I am pleased with the results.
 
Nice truck, need my truck subwoofer box customized so that I could still have a bench in the back.
 
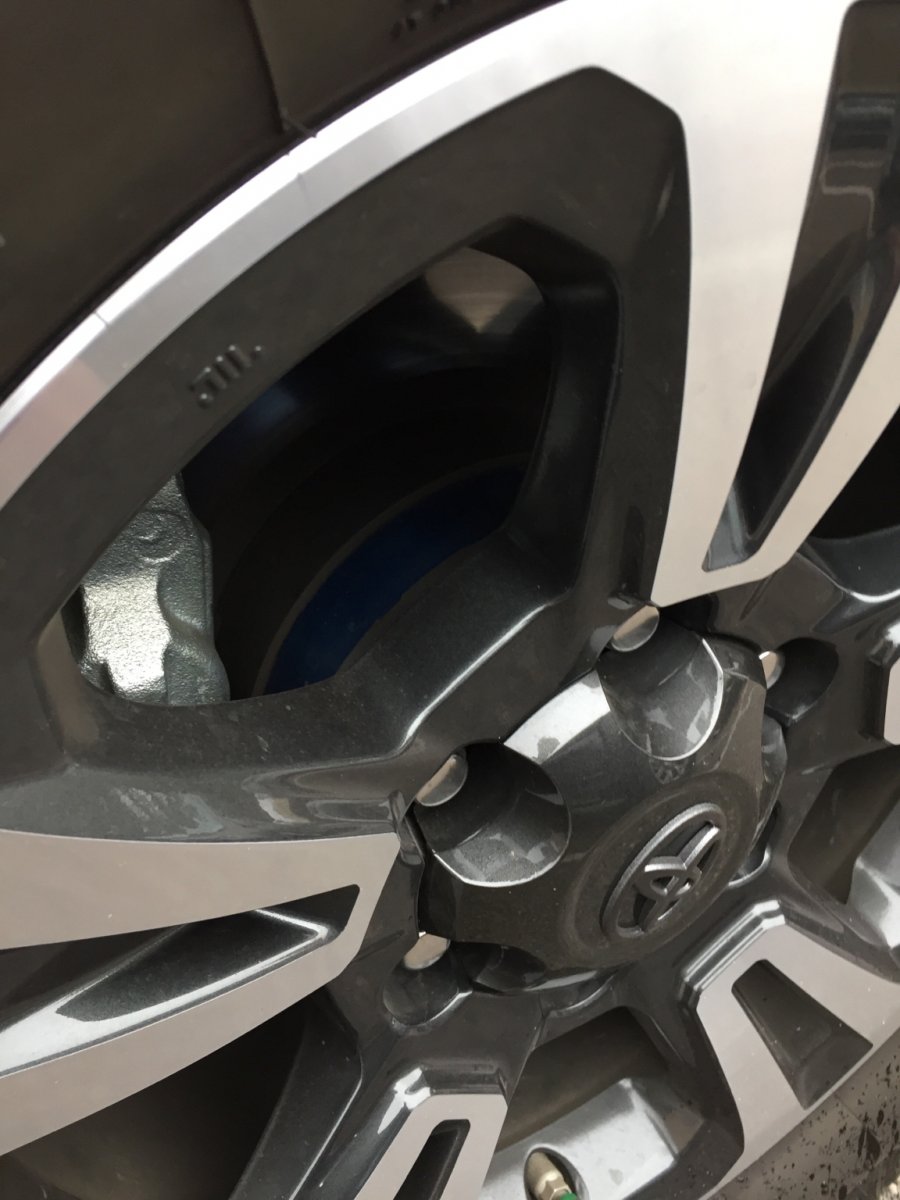
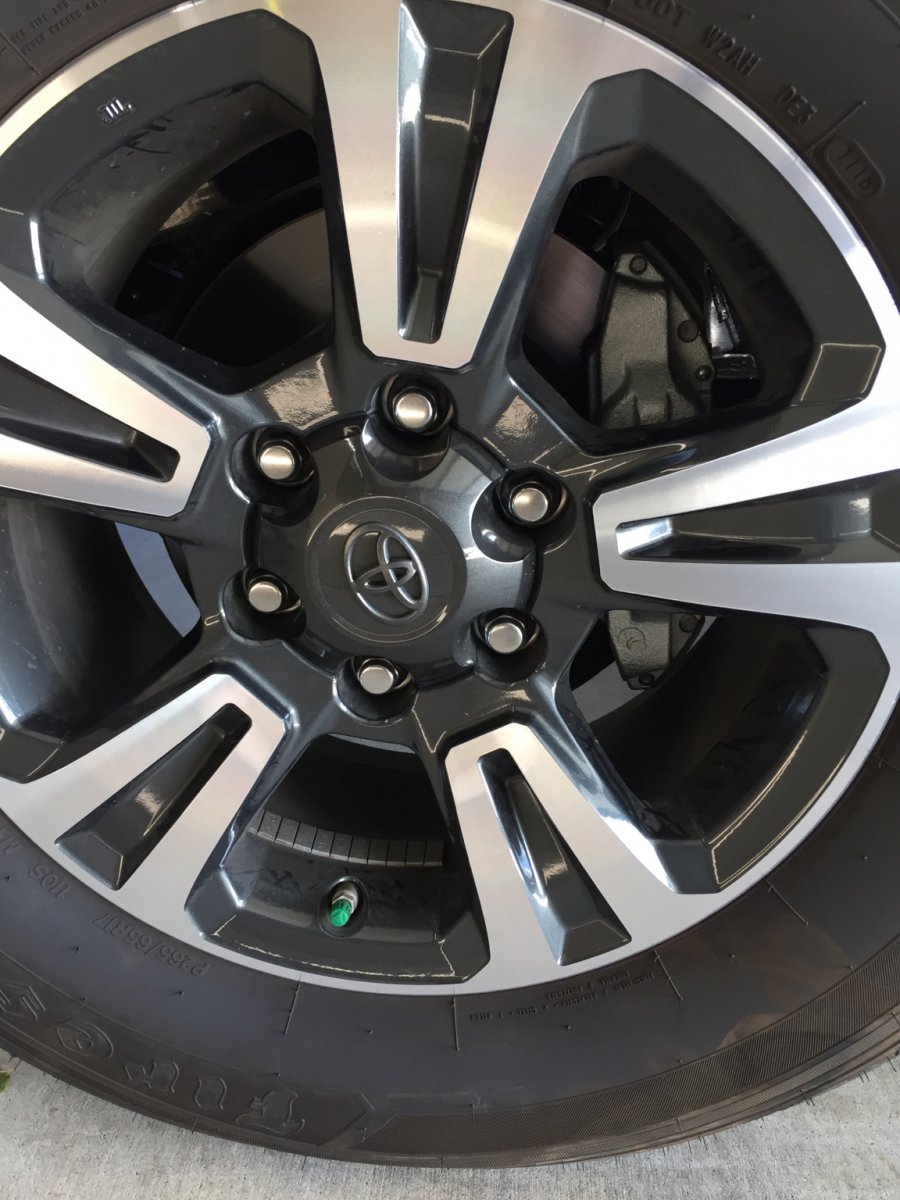
Painted steering wheel emblem & center cap emblems.

Another chrome issue. The wheel center cap so easy, just remove the wheels in the back of the Toyota emblem is our little pinched together clips, the steering wheel emblem was a bit more intricate as it is held on with little rubber bumpers that had to be cut individually with a very sharp X-Acto knife. Take your time so as not to cut the steering wheel airbag cover. After that I just sanded down the little nubs and use the little bit of epoxe to glue the emblem back on.
IMG_4824.jpg
 
Here’s a photo of the painted wheel cap emblem.
IMG_4830.jpg

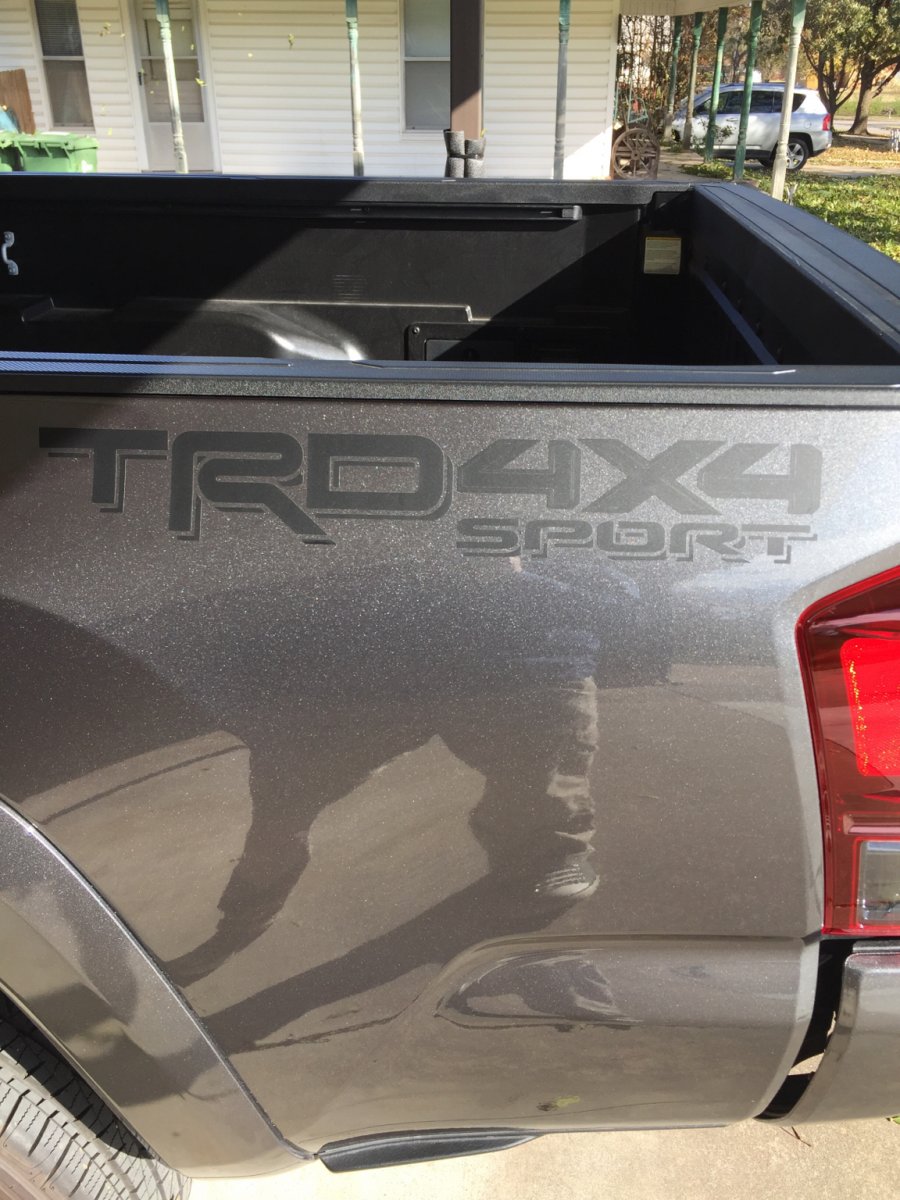
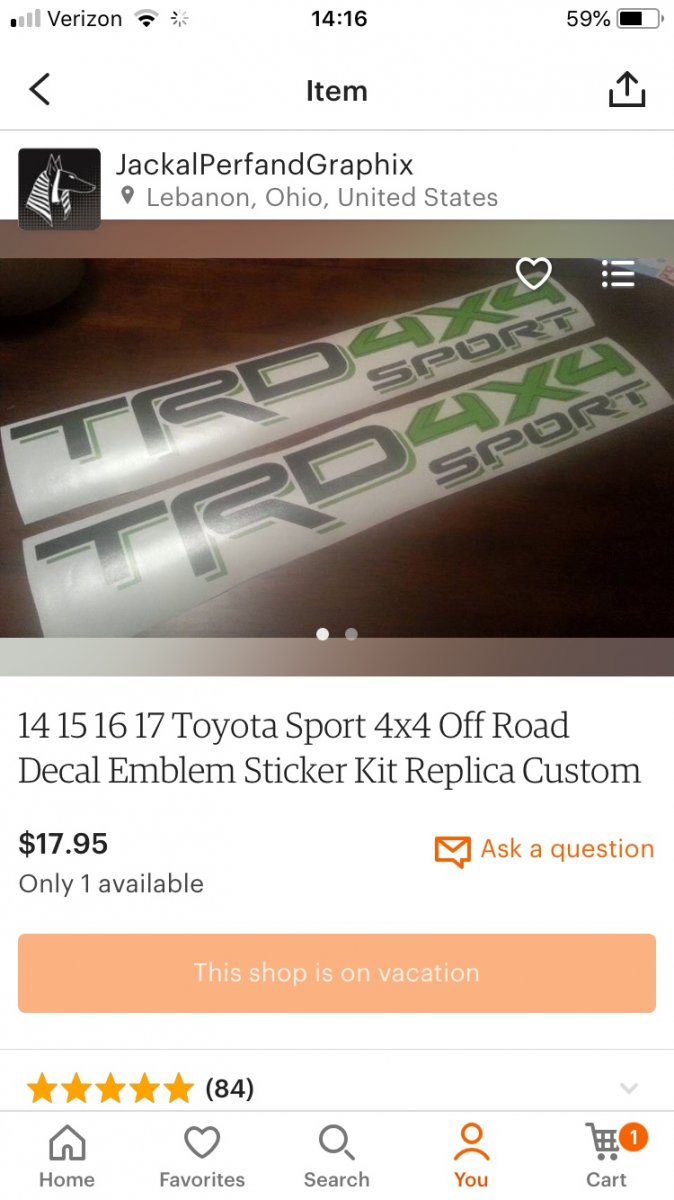
Also did new vinyl graphics on the bed to match the “Black out” theme I had going on the interior DIY, and the exterior was already done from the dealership, but the graphics were off white.

I taped off the perimeter to mark the factory vinyl location with painters tape, the removed the factory vinyl with a sharp razor blade enough to grab the corner then just peel off. Easier when it’s warmer.
Cleaned with a goo be gone, wiped down with alcohol, made a spray bottle with water and a few drops of dish soap.
Applied new vinyl.
Purchased from Esty, $18, many different color options.
IMG_4829.jpg
IMG_4828.jpg
 
Back
Top