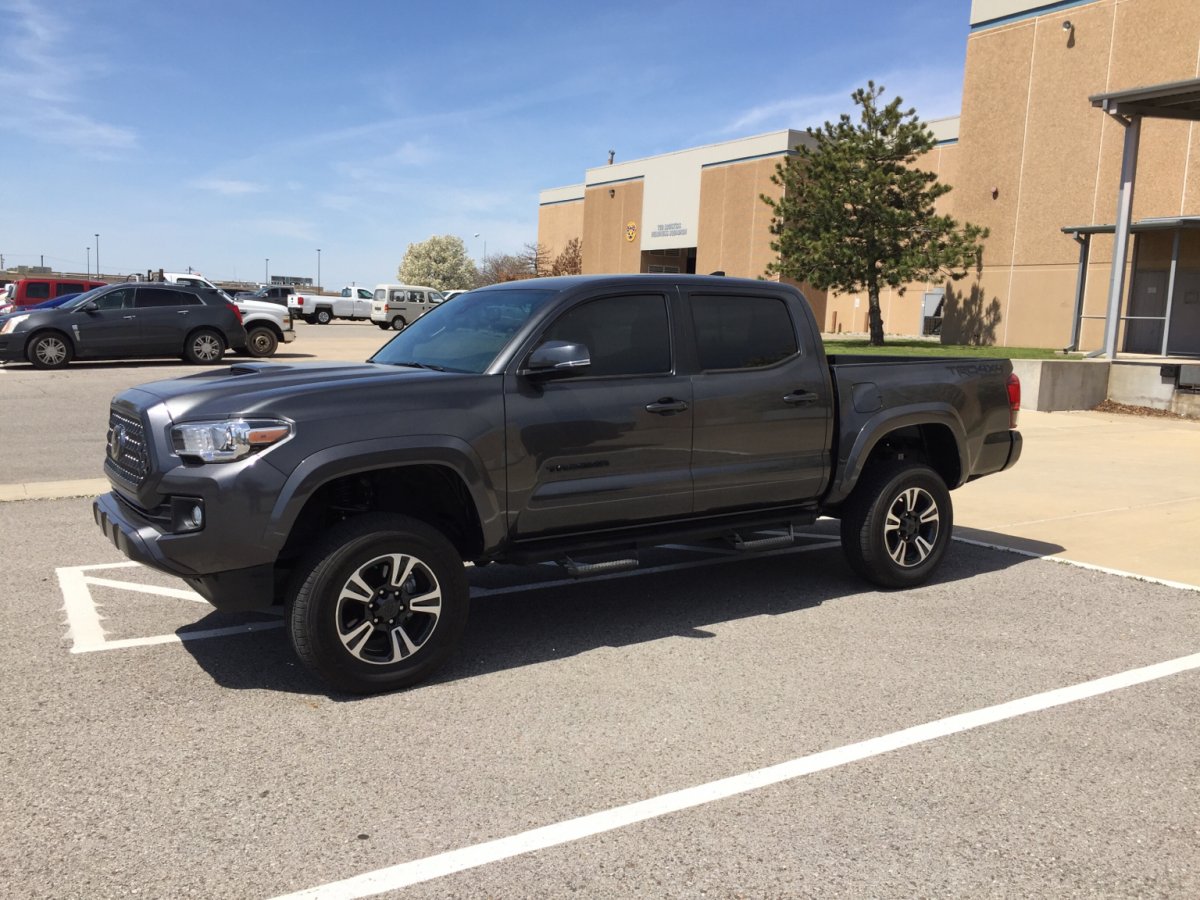
2018 Tacoma lift

Grey18Taco

Active Member
I will be lifting my 2018 TRD sport at the end of this month on the 29-30th.

I have already purchased the kit and will be doing the lift myself.

I just wanted to post this so that anybody looking to do a lift since the weather is turning nice will have some information going forward.

I will include the kit, part numbers, price paid, before and after measurements, before and after pictures, before and after average miles per gallon, tips tricks or issues I ran into, and how long it took me to do the lift.
I love that trippy avatar... haha
 
I will be lifting my 2018 TRD sport at the end of this month on the 29-30th.

I have already purchased the kit and will be doing the lift myself.

I just wanted to post this so that anybody looking to do a lift since the weather is turning nice will have some information going forward.

I will include the kit, part numbers, price paid, before and after measurements, before and after pictures, before and after average miles per gallon, tips tricks or issues I ran into, and how long it took me to do the lift.
Nice! I look forward to all the data and photos.
 
Parts & Price list

I’m doing a 2.5 lift.

Toytec

TP14: front top plate spacer (for taco lean) - $23

24-263108-P: Bilstein 5100 front shocks 2.5” lift - $255

OME-16: Old Man Emu 887 Coils - $175

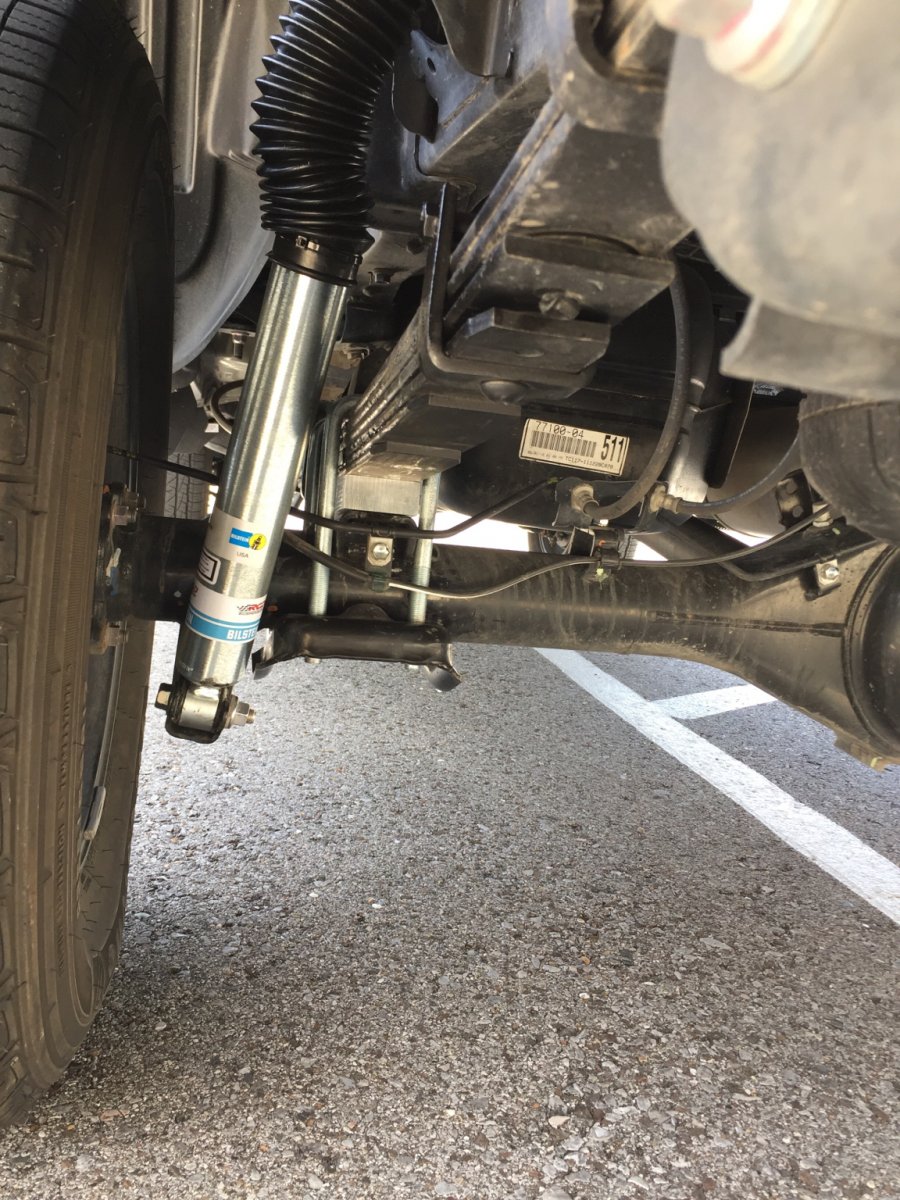
51100: Icon add a leaf pack with lift blocks and U bolts (1.5” is leaf pack only) - $215

B110-P: Bilstein rear 5100 shocks (3-4” extra travel) - $230

FK29: Old Man Emu Carrier Drop spacer - $14

Grand total $912 plus tax.

Now what I’ve learned so far that may cost you a bit more money but save you money as well.

I’ve attempted this install twice.
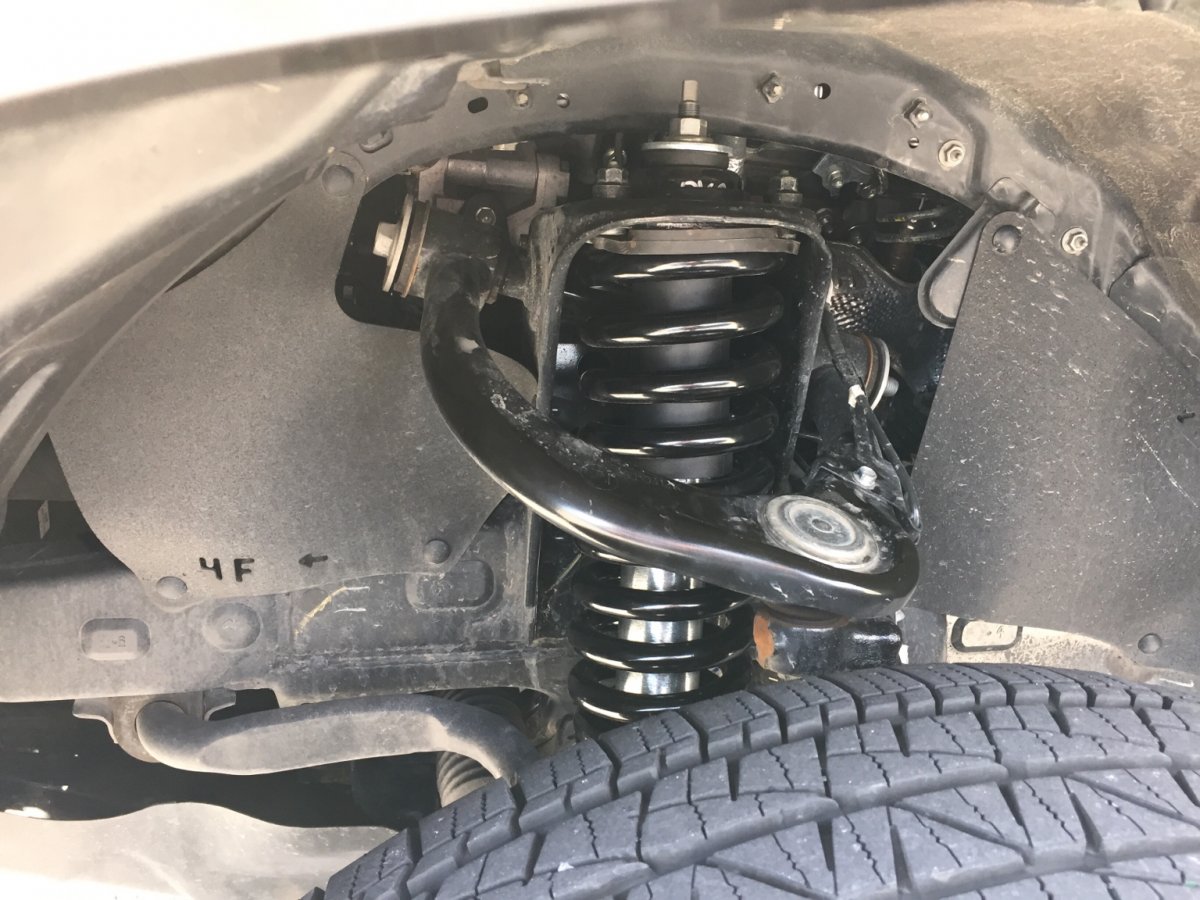
What got me both times was the front coil assemblies.

If you have the option, maybe with a different vendor, order your front coil/ shock as an assembly.

My kit calls for the re-using of the factory coil assembly top.

What I found to be the issue is that the aftermarket coil compression tools avail will not fit between the coils to disassemble - and if you do manage to squeeze one in like I did, you won’t be able to get it out of the new coil because your compressing more coil into a smaller space for the Bilstein adjustment.

I rented the 2 side compressor tool but it didn’t work, I bought a giant clam clamp, but again the hooks to hold the coil wouldn’t either fit in to disassemble or I couldn’t get them out once the new coil was assembled.
I even tried a external hook style hydraulic one but it kept slipping off the coils and almost making me crap my pants.

So I suggest an assembled assembly or if you have a off road shop near that can do it for you, but keep in mind that requires a second vehicle or a friend for a ride.

So far my “mistake” has cost me an additional $340.
$150 for a new shock cause I ruined the threads when the coil popped off during a failed assembly try.
$100 for having the factory coil assembly put back together cause I ruined the shock above.
$30 for bay space at my local military installation auto hobby shop.
$60 for the clam clamp that didn’t work.

Side note:
I am seeing how it goes before adding UCA’s, or 285/75/17 tires.
I already have the 1.5” spidertrax spacers on, no issues there.
 
Forgot to add: I have seen where you can loosen the LCA and use it as a coil press.
What you choose to do is your business, however I wouldn’t ever consider this for safety reasons.
Those coils have so much kinetic energy stored under load, your body will stop it if it slips, at a significant, painful cost.
 
The rear is done.

From breaking lug nuts to putting it back on the ground took 2.5 hours (there were breaks taken so probably about 2 hours total).

Driver side first.
This side is harder cause the brake lines only let you sag the axle so much, but it will go on, just be patient.
I took apart, removed the shims and re-greased them.
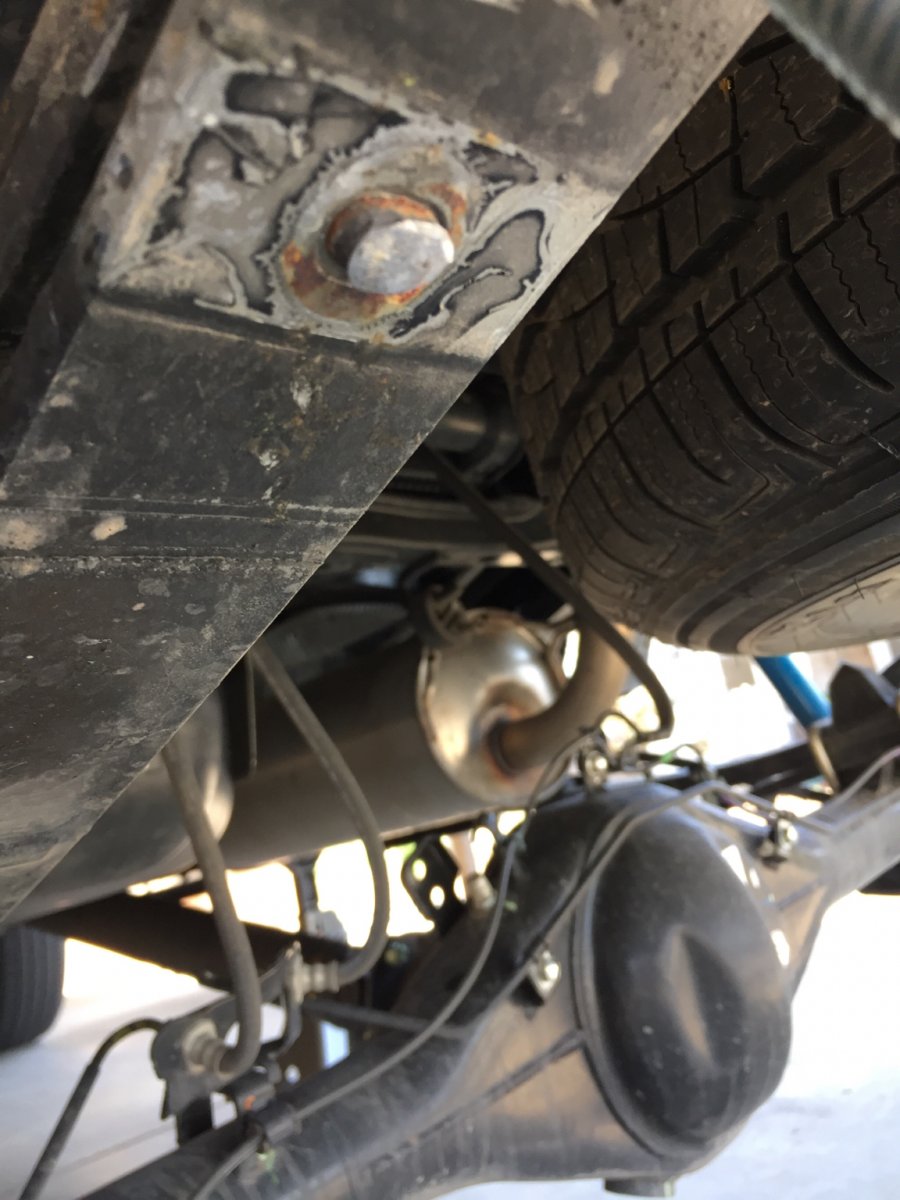
As far as removing the rear factory leaf spring clip, I ground off the bolt head, cut the clip and tapped with a hammer to remove. The remaining stud would not pound out for me, so I ground it down and smoothed with a flapper disc, painted and left it as is.
The directions say to pound it out, mine wouldn’t budge.

Passenger side took less than 45 min.

Put the nut back on the leaf pack stud & tighten before you trim it. You may be tempted to cut it first, especially on the driver side - don’t cause you may mess the threads up and you may cut it too short.

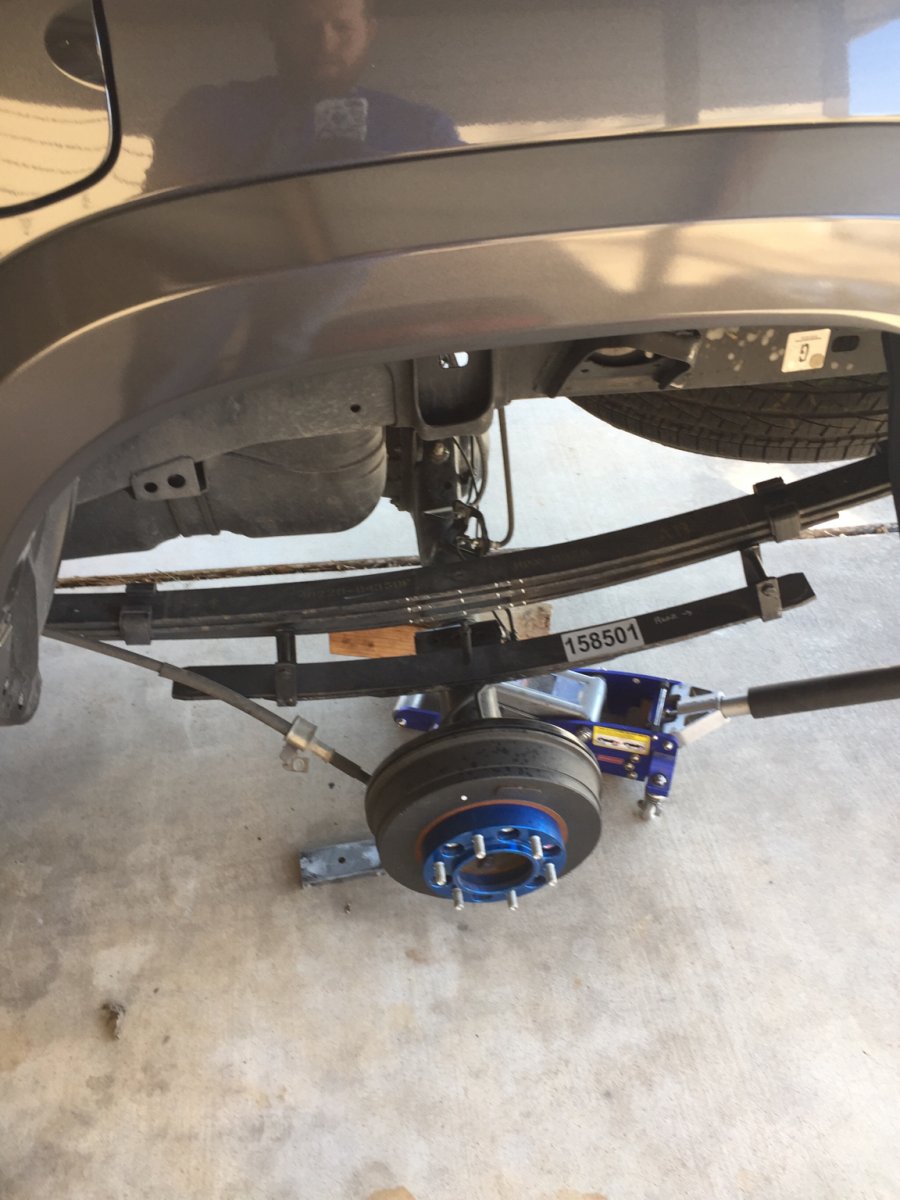
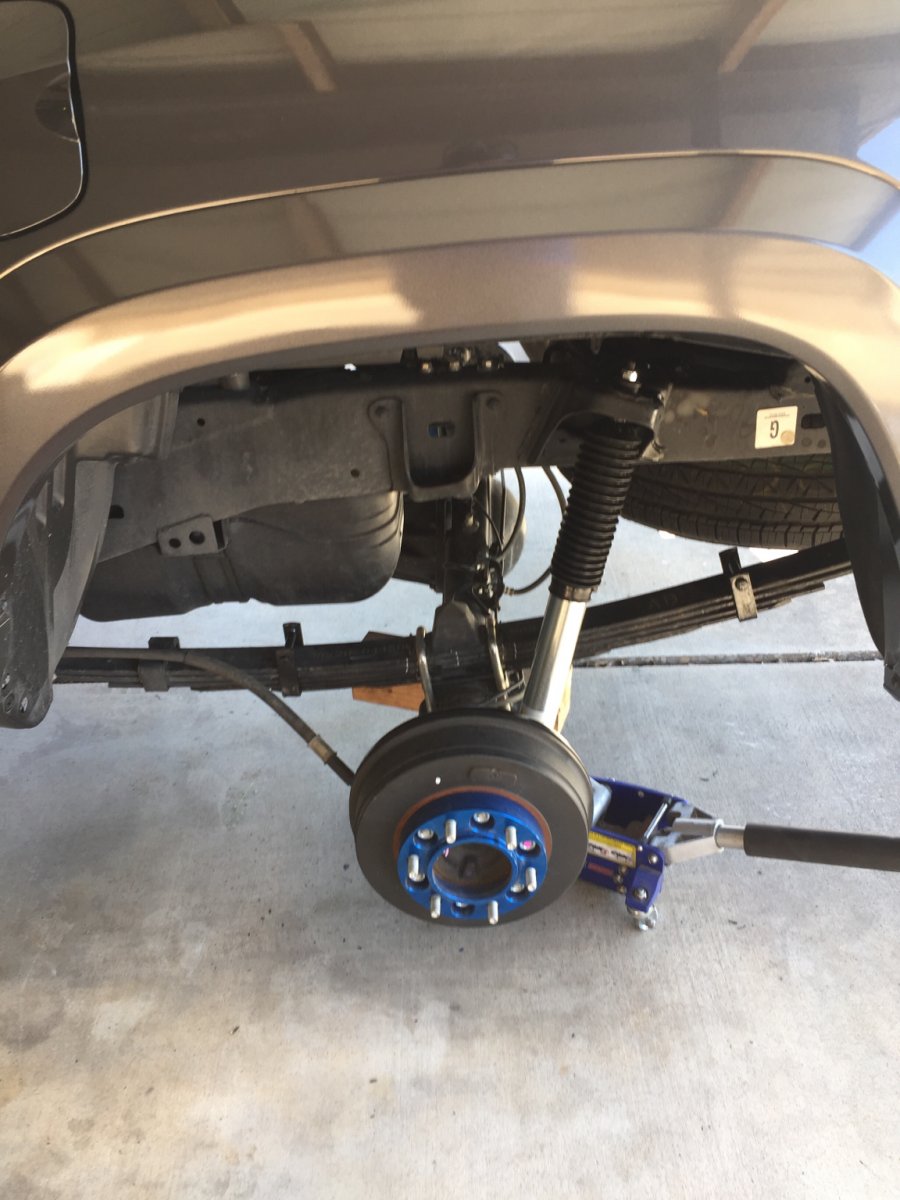
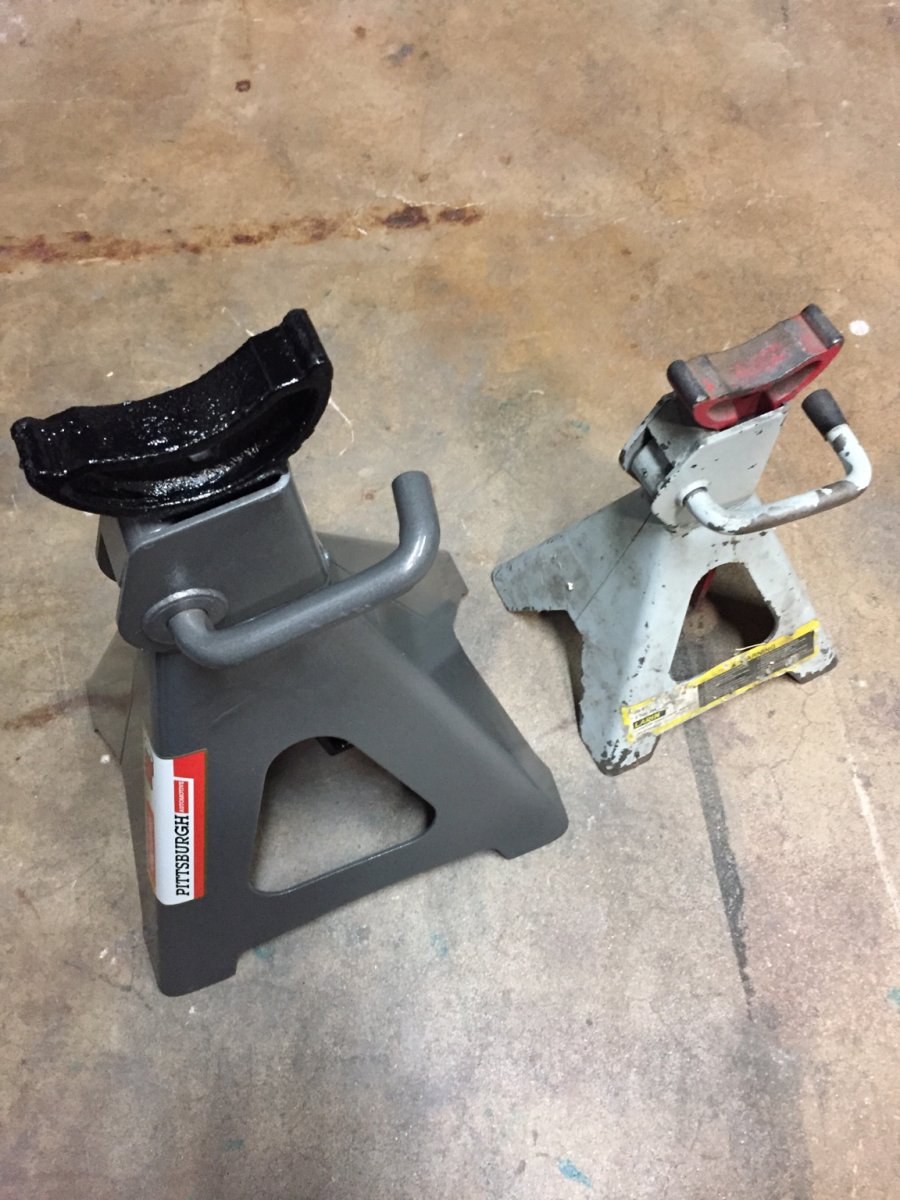
I also used 6 ton jack stands because the 2 ton stands were too narrow in my opinion and left the truck feeling wobbly as they were at their most extended range to have the truck up with enough room to drop the axle.

Here’s the pics.

First 2 are the differences between 2-6 ton jack stands.
The clip stud that was ground, cut, sanded, painted.
The new leaf up to the factory. Not a lot of room there to get that long bolt in.
All done. One more side to go.


I will do the front disassembly today and re-assembly tomorrow after I have the new coils put together by a local shop (not open on Sunday’s).

I’ll post the finish up tomorrow with some pics and also have the alignment checked. If need be I will do UCA’s at a later time, if they are needed.
IMG_5465.jpg
IMG_5466.jpgIMG_5474.jpgIMG_5472.jpgIMG_5476.jpg
 
Last edited:
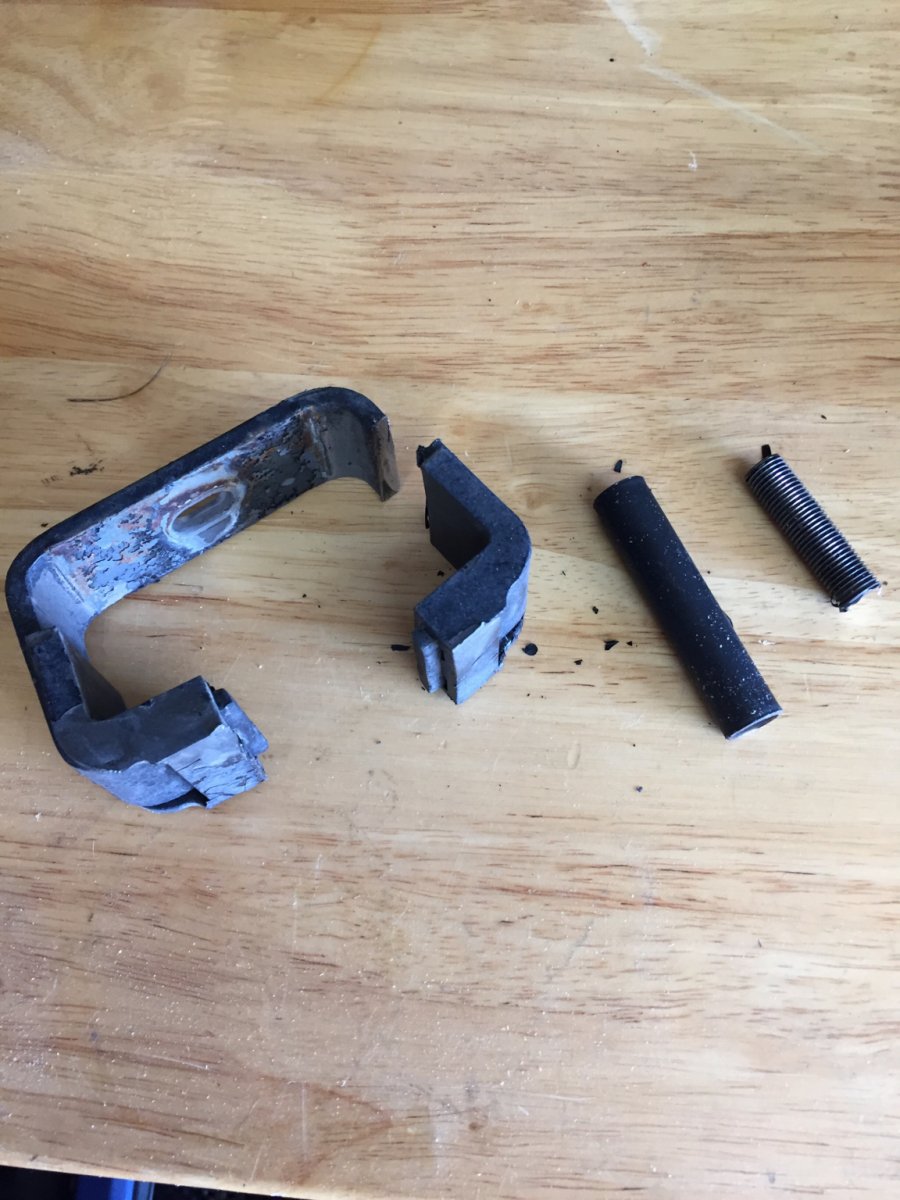
Here’s what your left with for one side.
The cut leaf pack clamp, the extra thread from the new AAL bolt, and the thread protector sleeve on the AAL.IMG_1554059410.812569.jpg
 
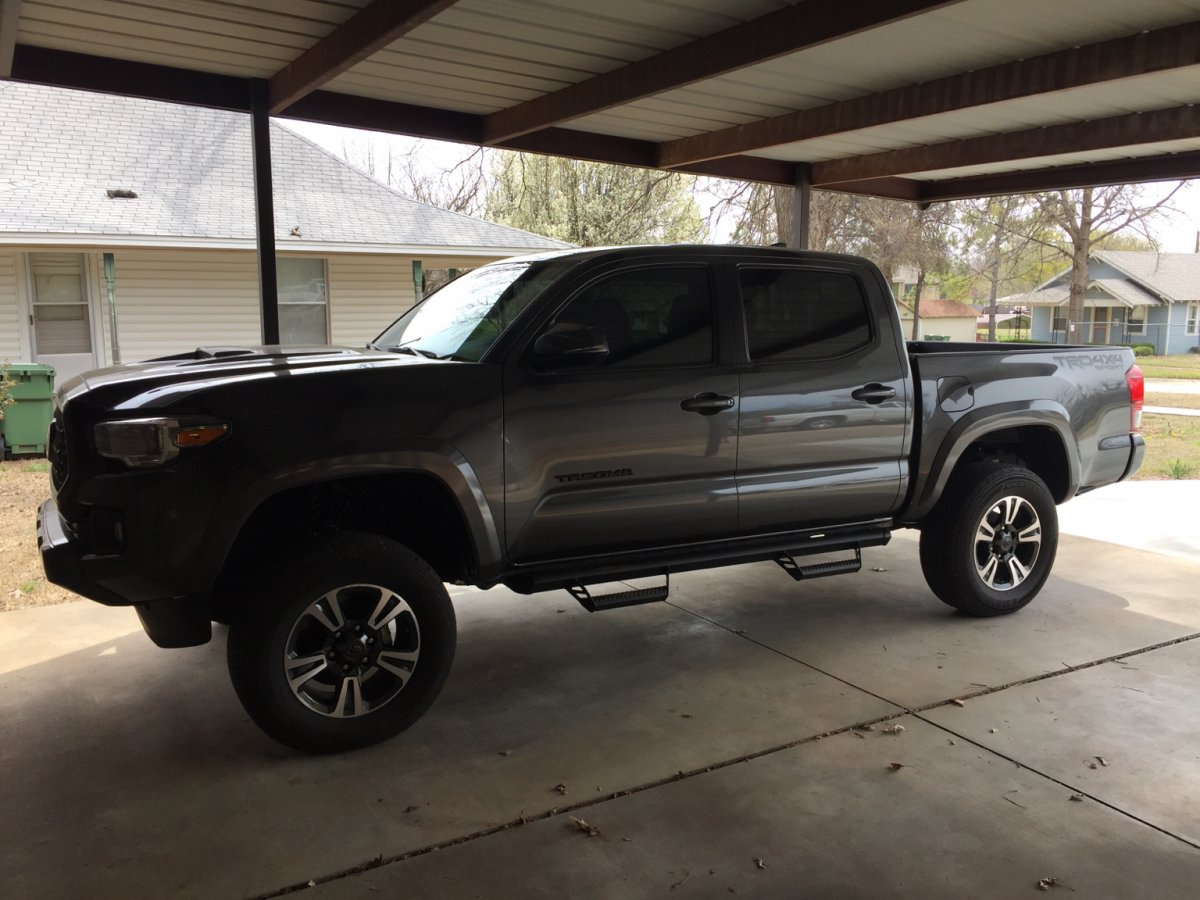
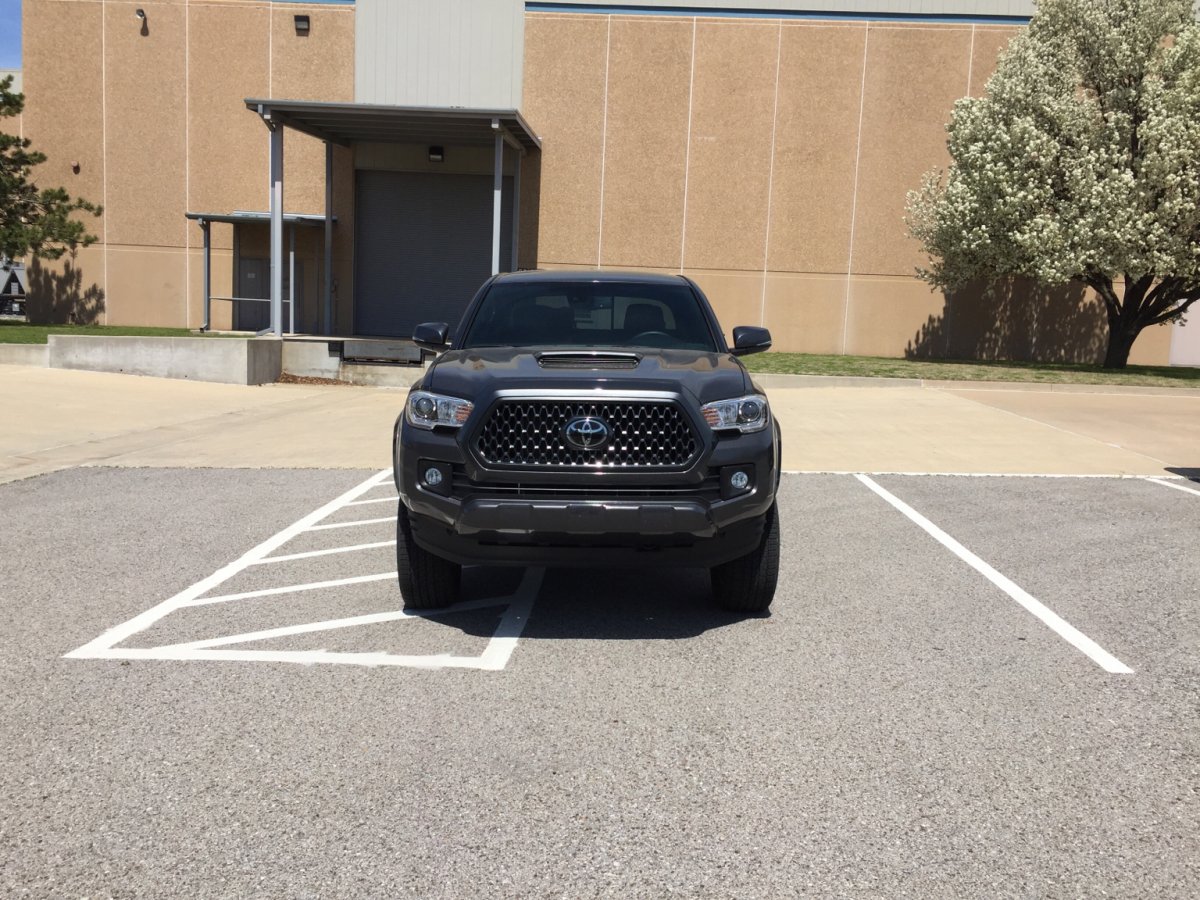
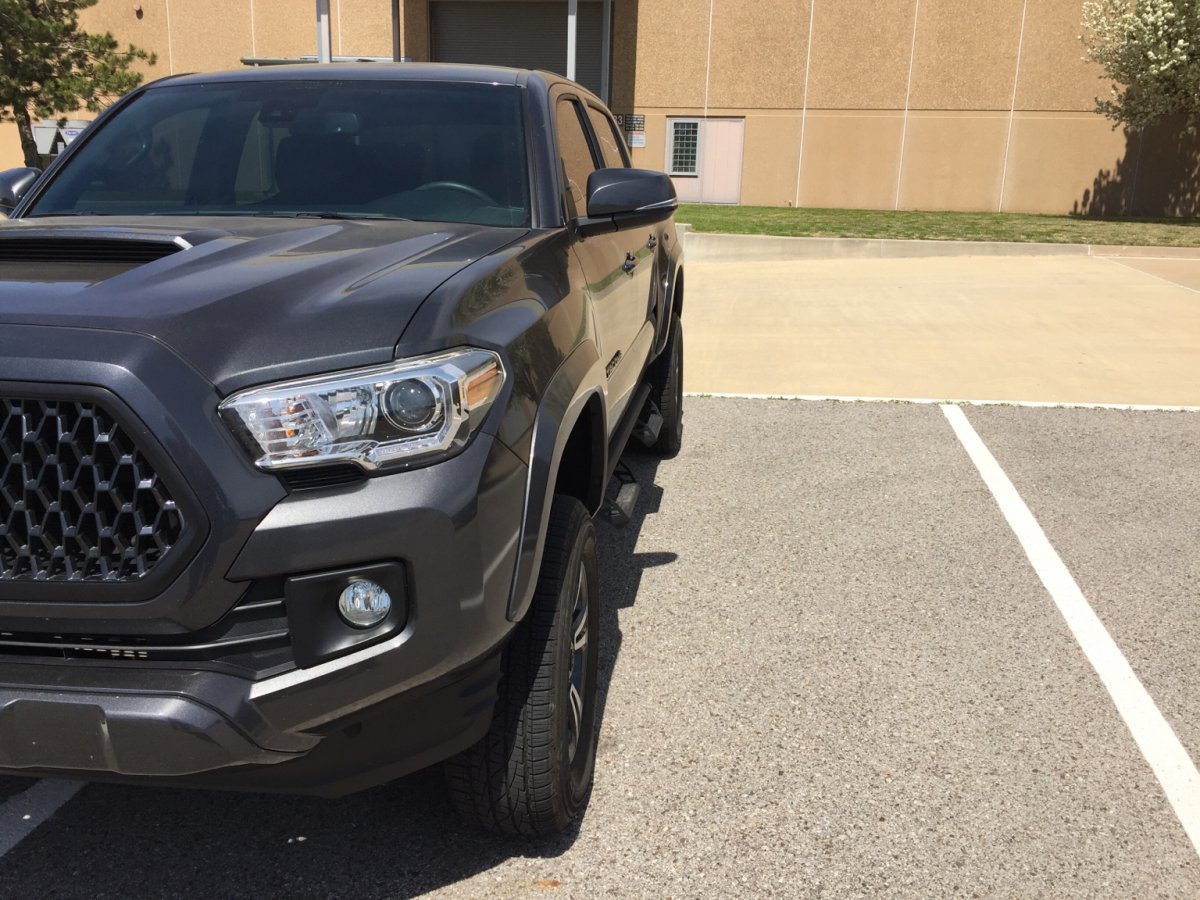
All done.
Before the lift:
35 1/4 front
36 rear
After the lift:
38 1/4 front
37 1/2 rear

I only went to the 4th position on the shock which is 1.55” lift.

So now the front sits 3/4” higher than the rear.
I am going to give it a week or two and see if it settles.
If not, I did get the 1” blocks when I ordered my kit, I may install those to fix the nose bleed.
IMG_5479.jpgIMG_5480.jpg
 
The local 4wheel shop quoted me $700 and 8 hours to do the lift.
It can be done in less than 4, if you have your coils already assembled and the proper tools. I used only hand tools, no power or air.
I did have to get it aligned.
 
Last edited:
All done.
Before the lift:
35 1/4 front
36 rear
After the lift:
38 1/4 front
37 1/2 rear

I only went to the 4th position on the shock which is 1.55” lift.

So now the front sits 3/4” higher than the rear.
I am going to give it a week or two and see if it settles.
If not, I did get the 1” blocks when I ordered my kit, I may install those to fix the nose bleed.
View attachment 25204View attachment 25205
Nice job adding to the write up.
Looks good.
You getting new tires or tires and wheels? They look a little small now. :D
I’d put the block in. Ideally I’d put an AAL. It’s not going to settle that much and I’d rather have some rear rake then be nose high. Especially with the TSS-P in the ‘18
 
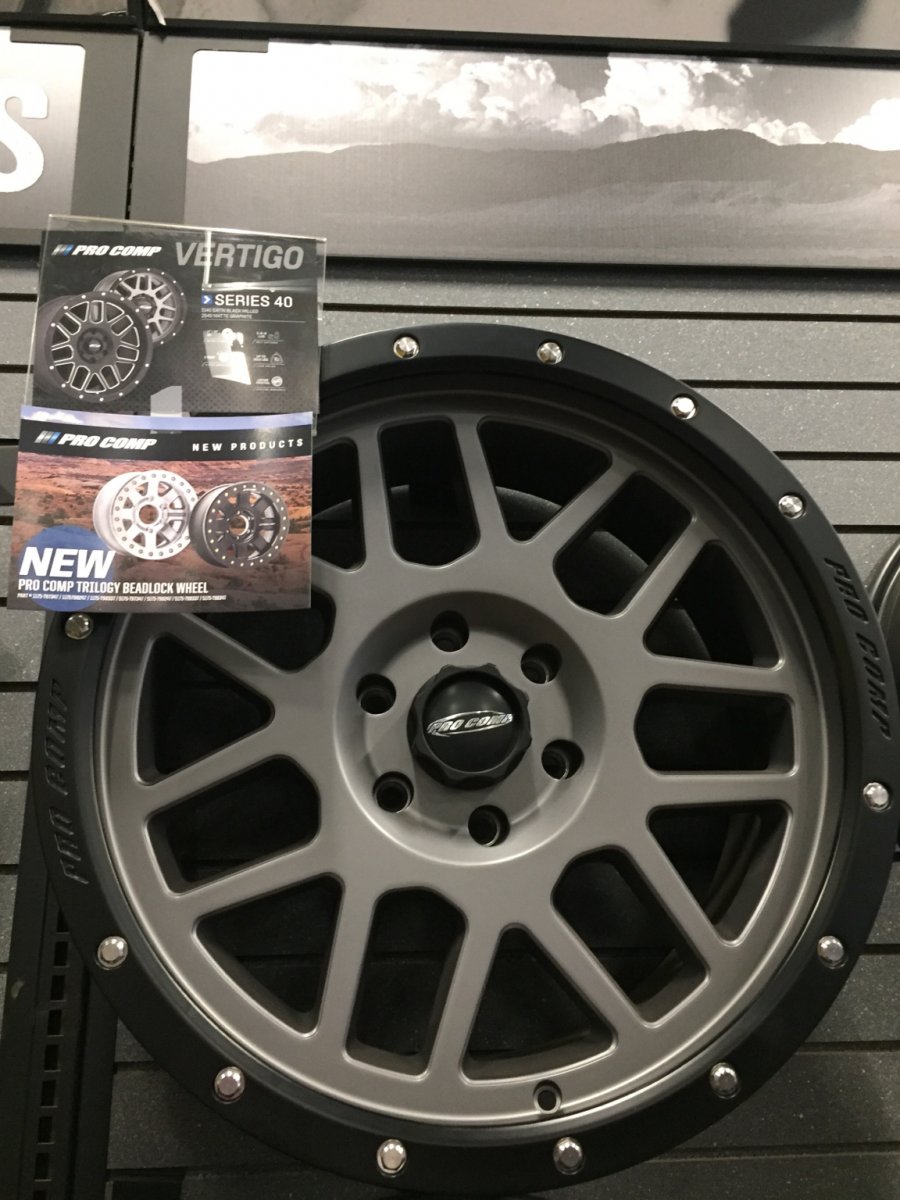
I am considering 285/75/17 passenger tires instead of LT tires. This saves weight and $ as I am not doing any off roading or heavy hauling/ trailering.

Also considering new rims.

I think your right, the blocks will have to go in the rear. I can already tell I’m going to get brights flashed at me on my way to work tomorrow.
If I had gone to the 5th ring on the front shocks, I think the front would’ve still been higher even after a 1” block in the rear.

Also, after alignment, I do not need aftermarket control arms.

Here’s the rims I’m considering.
IMG_5279.jpg
 
I ended up putting in the 1 inch blocks in the rear last night, it now sits a quarter inch higher in the rear than the front.

First drive after the block install, I also noticed driveline vibration, so I will have to install the carrier bearing drop kit this evening.
 
Last edited:
I ended up putting in the 1 inch blocks in the rear last night, it now says it’s a quarter inch higher in the rear than the front.
First drive after the block install, I also noticed driveline vibration, so I will have to install the carrier bearing drop kit this evening.
Pics?
 
It was 1.5 with the Icon AAL which brought the rear from 36” factory to 37 1/2”.

Then I added the 1” block as the rear was 3/4” higher than the front.

Now the front is 38 1/4 and the rear is 38 1/2.
 
I have developed the lovely 25 mph vibration after the block install under the leafs.

I will attempt to eliminate it by adding another 1/4-1/2 CB drop. I’ve read that it should be 1/4” drop for every inch of lift. The rear went up 2.5” after the lift & block install.

There are degree’d shims, however I really don’t want to take the leafs apart again so I will save that till later.

No issues up front, no grind or hum from the drivers side indicating needle bearing issues, plus it only has 7000 miles on it.
 
Back
Top